Introduction to Heavenly Cheese Danish
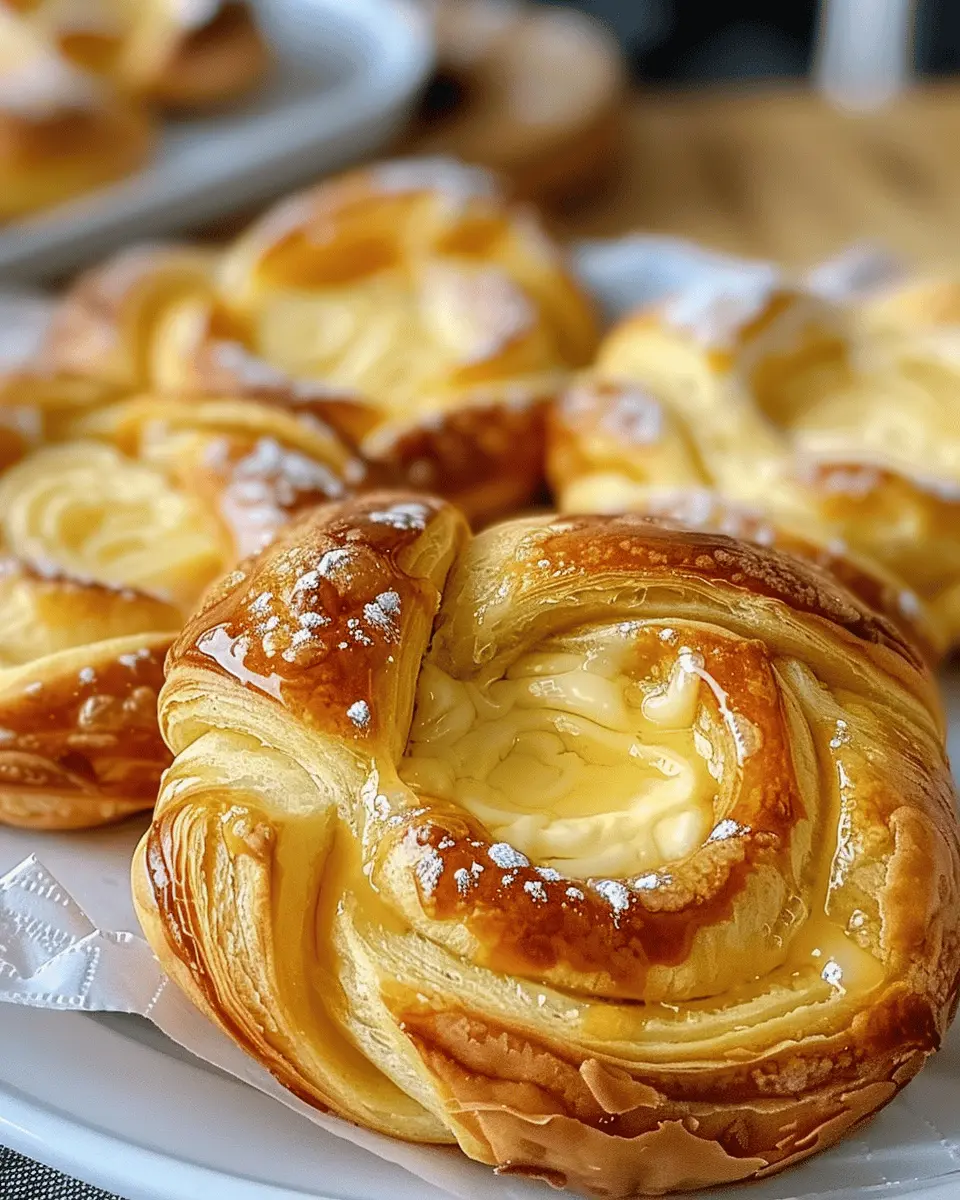
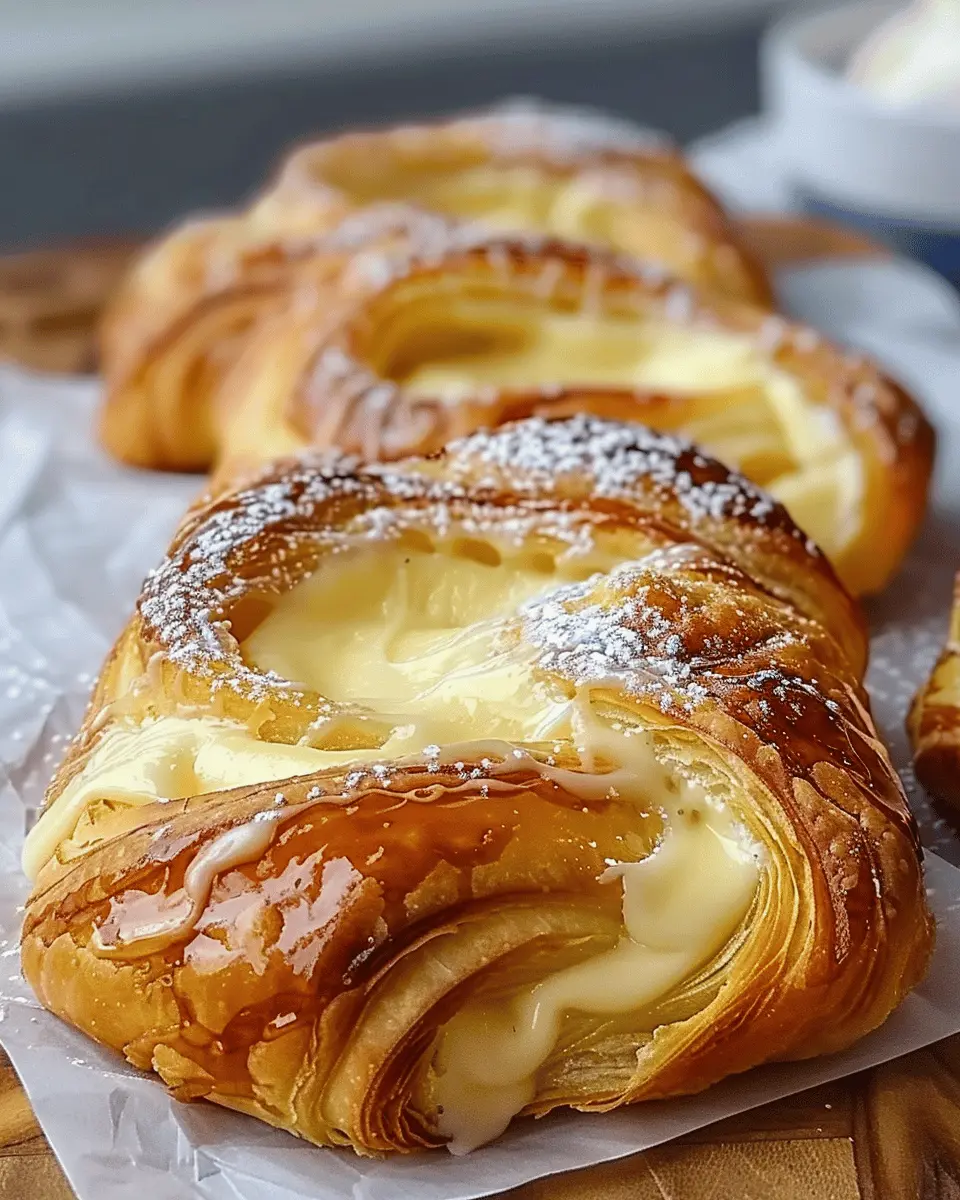
There’s something undeniably delightful about biting into a Heavenly Cheese Danish. This charming pastry combines flaky, buttery layers with a rich, creamy cheese filling that’s both indulgent and comforting. Whether you’re enjoying it with a cup of coffee on a busy morning or as a sweet treat during your afternoon break, it’s hard to resist the allure of this classic pastry.
What makes Heavenly Cheese Danish so irresistible?
Let’s dive a little deeper into why these pastries are considered heavenly. First, the texture is a big factor. The delicate layers of the dough are achieved through a unique method of folding butter into the pastry, creating those irresistible flaky layers. This process ensures that every bite offers a tender crunch, transitioning seamlessly into the smoothness of the cheese filling.
The filling itself is another highlight. Typically made from cream cheese, sugar, and complementary flavors like vanilla or zest of lemon, the creamy center provides a perfect counterbalance to the pastry’s texture. Moreover, this adaptability allows for variations—think of adding fruit, chocolate, or spices to customize the flavor to your preference.
But what really elevates the Heavenly Cheese Danish is its versatility. You can enjoy it at any time of the day, and it can easily transition from a sweet breakfast option to a delightful dessert. In fact, studies have shown that pastries like cheese danishes are among the most popular breakfast items in cafes, which speaks volumes about their universal appeal.
If you’re interested in putting your own spin on this iconic treat, there are countless resources available. For example, the Kitchn offers some fantastic tips for achieving the perfect flaky danish dough, or you can check out sites like Serious Eats for variations that include seasonal fruits or unique pastry fillings.
So, whether you’re an experienced baker or just starting, making your own Heavenly Cheese Danish can be a rewarding experience. It’s a chance to impress your friends, indulge your taste buds, and maybe even create a new tradition in your kitchen. Ready to take it to the next level? Let’s jump into the detailed recipe!
Ingredients for Heavenly Cheese Danish
Creating a Heavenly Cheese Danish is all about choosing the right ingredients that blend together to create that perfect, flaky pastry filled with rich, sweetened cheese. Here’s what you’ll need to get started:
Dough
- Puff Pastry: The star of the show, which gives that incredible flakiness. You can use store-bought for ease or make your own from scratch.
- Butter: The real deal here adds richness and flavor; unsalted is best for baking.
Cheese Filling
- Cream Cheese: The luxurious base for your filling—don’t compromise on quality!
- Powdered Sugar: For a touch of sweetness that balances the creaminess nicely.
- Vanilla Extract: Just a splash brings everything together, adding that heavenly aroma.
Topping
- Egg: You’ll need an egg wash to give the pastry that beautiful golden sheen.
- Zest of Lemon: A teaspoon brightens the flavors and adds a refreshing zing.
Gather these quality ingredients and let the magic unfold! For more baking insights, you can check out sources like Baking 101 for tips on working with puff pastry. Happy baking!
Step-by-step Preparation of Heavenly Cheese Danish
Creating a Heavenly Cheese Danish at home is not just an exercise in baking; it’s an experience infused with warmth, creativity, and the delightful aroma of fresh dough. If you’ve ever craved the flaky, creamy treat from your favorite café, you’re in luck! Follow this step-by-step guide to make your very own delicious batch.
Activate the yeast
Start by waking up that yeast, crucial for your dough to rise. In a small bowl, mix together:
- 1 cup of warm milk (about 110°F)
- 2 teaspoons of granulated sugar
- 2 ¼ teaspoons of active dry yeast
Let this mixture sit for about 5 to 10 minutes, or until it becomes frothy and bubbly. This indicates that your yeast is alive and kicking—ready to work its magic.
Prepare the dough mixture
In a larger mixing bowl, combine:
- 4 cups of all-purpose flour
- 1 teaspoon of salt
- ¼ cup of granulated sugar
- ½ cup of softened unsalted butter
Make sure you use high-quality flour for the lightest pastry. Once combined, pour in your activated yeast mixture, along with:
- 2 large eggs
Stir until the dough comes together. You can use a stand mixer with a dough hook attachment for about 5 minutes if you want to save some elbow grease!
Resting the dough
This part is key for achieving that flaky texture. Cover the dough with a clean kitchen towel and let it rest in a warm place for approximately 1 hour, or until it doubles in size. This rise is essential as the yeast works to create air pockets that make your Danish light and fluffy.
Shape the Danish
After the dough has risen, it’s time to shape it. Punch down the dough to release the air, then roll it out on a floured surface into a rectangle about ¼ inch thick. You can cut this rectangle into squares, about 4 to 5 inches each.
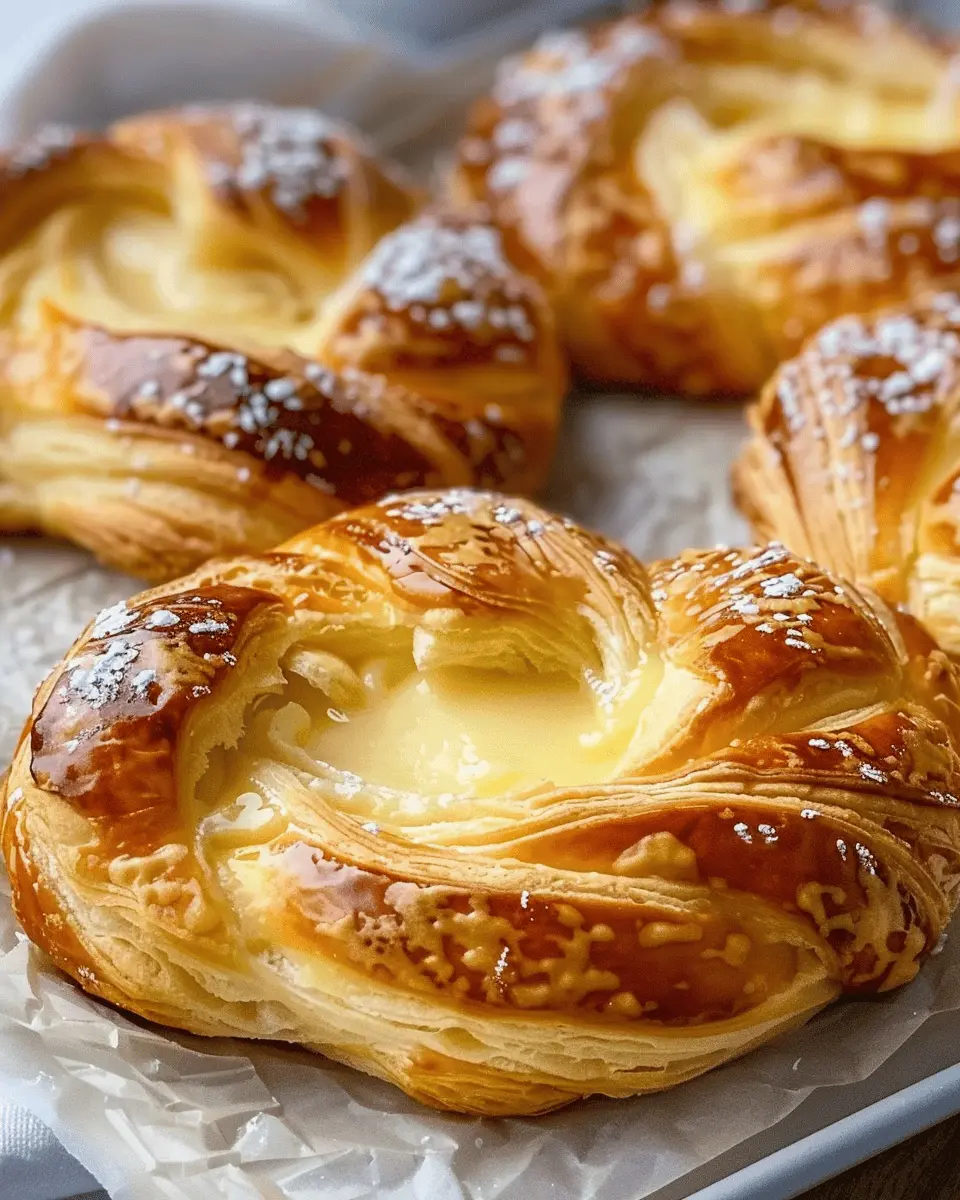
Here comes the fun part: you can create various shapes! Fold the corners of each square towards the center to create a lovely pinwheel shape, or roll them up like crescent rolls. Your creativity is the only limit!
Prepare the cream cheese filling
No Heavenly Cheese Danish is complete without its rich cream cheese filling! In a medium bowl, blend together:
- 8 ounces of cream cheese, softened
- 1/3 cup of granulated sugar
- 1 egg yolk
- 1 teaspoon of vanilla extract
Mix until smooth and creamy. This filling will transform your Danish from good to heavenly.
Assemble and rise
Now, place a generous spoonful of the cream cheese mixture in the center of each shaped Danish. If you decide to fold the corners in, be sure to pinch them closed securely. Lay them on a parchment-covered baking sheet, cover them with a towel again, and let them rise for another 30 minutes.
Bake the Heavenly Cheese Danish
Preheat your oven to 375°F (190°C). Once your Danish has risen again, pop them in the oven and bake for about 20-25 minutes, or until golden brown. Your kitchen will be filled with a mouthwatering aroma that makes all the hard work worth it!
Once baked, allow them to cool slightly before enjoying. Drizzle with a simple glaze made from powdered sugar and milk for an extra sweet touch.
As you embark on your own Heavenly Cheese Danish adventure, remember that baking is as much about joy as it is about precision. Each step is an opportunity to savor the moment, and before you know it, you’ll have a delightful treat that will impress anyone lucky enough to sample your creation. If you’re looking for more delightful pastries, check out this link for expert tips on baking techniques. Happy baking!
Variations on Heavenly Cheese Danish
When it comes to Heavenly Cheese Danish, the possibilities are practically endless! Whether you crave a sweet treat or something savory, these variations will surely elevate your baking game.
Berry-filled Heavenly Cheese Danish
Imagine biting into a warm, flaky pastry filled with a delightful blend of cream cheese and sweet, tangy berries. You can use a variety of berries like blueberries, raspberries, or strawberries. Here’s how to make it:
- Berry Filling: In a small saucepan, combine your choice of berries with a sprinkle of sugar and a splash of lemon juice. Cook over medium heat until the berries begin to break down, creating a syrupy texture.
- Assembly: Spoon the berry filling onto the cheese mixture before sealing your Danish. This fruity twist creates a refreshing burst of flavor that pairs beautifully with the creamy cheese.
For additional tips on how to maximize berry flavors, check out this source.
Savory Cheese Danish Option
If you’re leaning towards a savory treat, consider transforming your Heavenly Cheese Danish into a delightful snack! Instead of sweet fillings, try incorporating ingredients like Turkey Bacon or Chicken Ham.
- Savory Filling: Mix your cream cheese with herbs like chives or dill, and fold in chopped and cooked Turkey Bacon or Chicken Ham. This cheeky, savory option adds a new layer to the classic snack.
- Baking Tips: Sprinkle some grated cheese on top before baking for a golden finish that is simply irresistible.
These savory Danish make an elegant addition to brunch or can be enjoyed anytime you desire. The richness of the cheese perfectly complements savory elements. Explore more savory baking ideas at this culinary blog.
With these variations, anyone can master the art of the Heavenly Cheese Danish. Get creative and enjoy experimenting in the kitchen!
Cooking Tips and Notes for Heavenly Cheese Danish
Creating the perfect Heavenly Cheese Danish is an art, and mastering it can make your mornings feel like a delightful European café experience. Here are some helpful tips to ensure your danish turns out heavenly:
-
Use Fresh Ingredients: Opt for fresh cream cheese and high-quality butter. Freshness enhances flavor, especially in the delicate filling.
-
Don’t Rush the Dough: If you’re using puff pastry, remember that letting it thaw slowly in the fridge yields better layers. A well-rolled dough is key to that flaky texture.
-
Keep Everything Cold: Keep your ingredients, especially the butter, cold. This prevents the butter from melting into the dough, ensuring those crisp layers.
-
Perfect the Filling: Experiment with flavors! While the traditional filling is lovely, consider adding a splash of vanilla or lemon zest for an unexpected twist.
-
Bake to Golden Perfection: Ensure your Heavenly Cheese Danish is beautifully golden brown. This not only makes for a lovely presentation but also enhances the flavor with a slight crisp.
For detailed insights on creating the best pastries, check out resources like King Arthur Baking or Serious Eats. Happy baking!
Serving Suggestions for Heavenly Cheese Danish
When it comes to enjoying a Heavenly Cheese Danish, creativity is key. Imagine yourself sipping a steaming cup of coffee or herbal tea while indulging in this delightful pastry. Not only is it a perfect breakfast option, but it also makes for an exceptional afternoon snack or even a dessert!
Perfect Pairings
-
Beverages: Pair your Heavenly Cheese Danish with a robust cup of coffee or a refreshing iced chai latte. These drinks complement the creamy filling and flaky pastry beautifully. If you prefer something lighter, herbal teas like chamomile or mint can enhance the flavors.
-
Savory Additions: For a brunch spread, serve alongside slices of turkey bacon or chicken ham. Their savory notes balance the sweet richness of the Danish, making for a satisfying meal. You might consider adding a fresh fruit salad with berries or citrus to refresh your palate.
-
Sweet Enhancements: Drizzle a little honey or a sprinkling of powdered sugar atop your Danish for an extra touch of sweetness. You could also serve with a dollop of whipped cream or a scoop of vanilla ice cream for a decadent dessert experience.
Presentation Matters
Creating an inviting presentation can elevate your Heavenly Cheese Danish experience. Arrange them on a beautiful platter with floral touches or serve individually on charming plates. This not only makes your meal visually appealing but also adds a personal touch to gatherings with friends or family.
Explore more ideas on enhancing your brunch presentations on blogs like The Spruce Eats. With these serving suggestions, your Heavenly Cheese Danish will not just be a treat; it will become the highlight of your dining experience!
Time Breakdown for Heavenly Cheese Danish
Preparation time
Getting cozy with your Heavenly Cheese Danish starts in the kitchen. Preparation takes about 20 minutes, during which you’ll mix the dough and whip up a delicious cream cheese filling. Don’t forget to gather all your ingredients beforehand to make the process smoother!
Rising time
Patience is key with dough! After preparation, let it rise for approximately 1 hour. This step allows the yeast to work its magic, making the pastry light and fluffy. You can enjoy a cup of coffee or catch up on your favorite podcast while you wait!
Baking time
The moment of truth! Your Heavenly Cheese Danish will bake for around 25-30 minutes. The smell will fill your kitchen and tempt everyone near by—truly an irresistible treat!
Total time
All in all, you’re looking at about 1 hour and 15 minutes from start to finish, excluding any chilling time. Fancy whipping up your own batch? You can impress friends and family while enjoying a delightful homemade pastry. Want some tips on perfecting your baking skills? Check out King Arthur Baking for expert advice and guidance.
Nutritional Facts for Heavenly Cheese Danish
When indulging in a slice of Heavenly Cheese Danish, it’s good to be mindful of the nutritional benefits. This delightful pastry balances indulgence with nutrition, allowing you to enjoy every bite guilt-free. Here’s a breakdown of what you can expect:
Calories
On average, a single serving of Heavenly Cheese Danish packs around 250-300 calories. It’s a treat that can fit into a balanced diet, especially if you manage your portion size.
Protein
With approximately 7-10 grams of protein per serving, this pastry can help keep you feeling full longer. The creamy cheese filling contributes to this good protein source, making it a satisfying snack or breakfast option.
Carbohydrates
Expect around 30-35 grams of carbohydrates, primarily from the pastry dough. These carbs provide necessary energy, especially if you’re enjoying it before a busy day at work.
For deeper insights into the nutritional profile of pastries, you can check out the USDA FoodData Central for detailed information.
FAQs about Heavenly Cheese Danish
Can I make the dough ahead of time?
Absolutely! Preparing the dough for your Heavenly Cheese Danish in advance is a fantastic idea. You can make the dough up to a day ahead and store it in the refrigerator. Just be sure to wrap it tightly to prevent it from drying out. When you’re ready to bake, allow it to come to room temperature for about 30 minutes before rolling it out. This not only saves you time but also enhances the flavors, making your danish even more delicious.
What can I use instead of cream cheese?
If you’re looking for alternatives to cream cheese for your Heavenly Cheese Danish, there are a few options that can work beautifully. Some popular substitutes include:
- Ricotta Cheese: This results in a lighter filling.
- Mascarpone Cheese: Rich and creamy, it adds a luscious texture.
- Greek Yogurt: For a healthier twist, go for plain Greek yogurt; just remember to balance the flavors since it’s tangier.
These choices will keep your danish creamy while adding their unique flavors!
How should I store leftover Heavenly Cheese Danish?
Leftover Heavenly Cheese Danish can be stored easily! To maintain their freshness:
- Wrap them tightly: Use plastic wrap or store in an airtight container.
- Refrigerate: They can last for up to 3-4 days in the fridge.
- Freezing Option: For longer storage, freeze them for up to 2 months. Just make sure to wrap them well!
When you’re ready to enjoy them again, simply reheat in the oven for that freshly baked taste. For more tips, check out resources on Food Storage to ensure you’re keeping your food safe.
Conclusion on Heavenly Cheese Danish
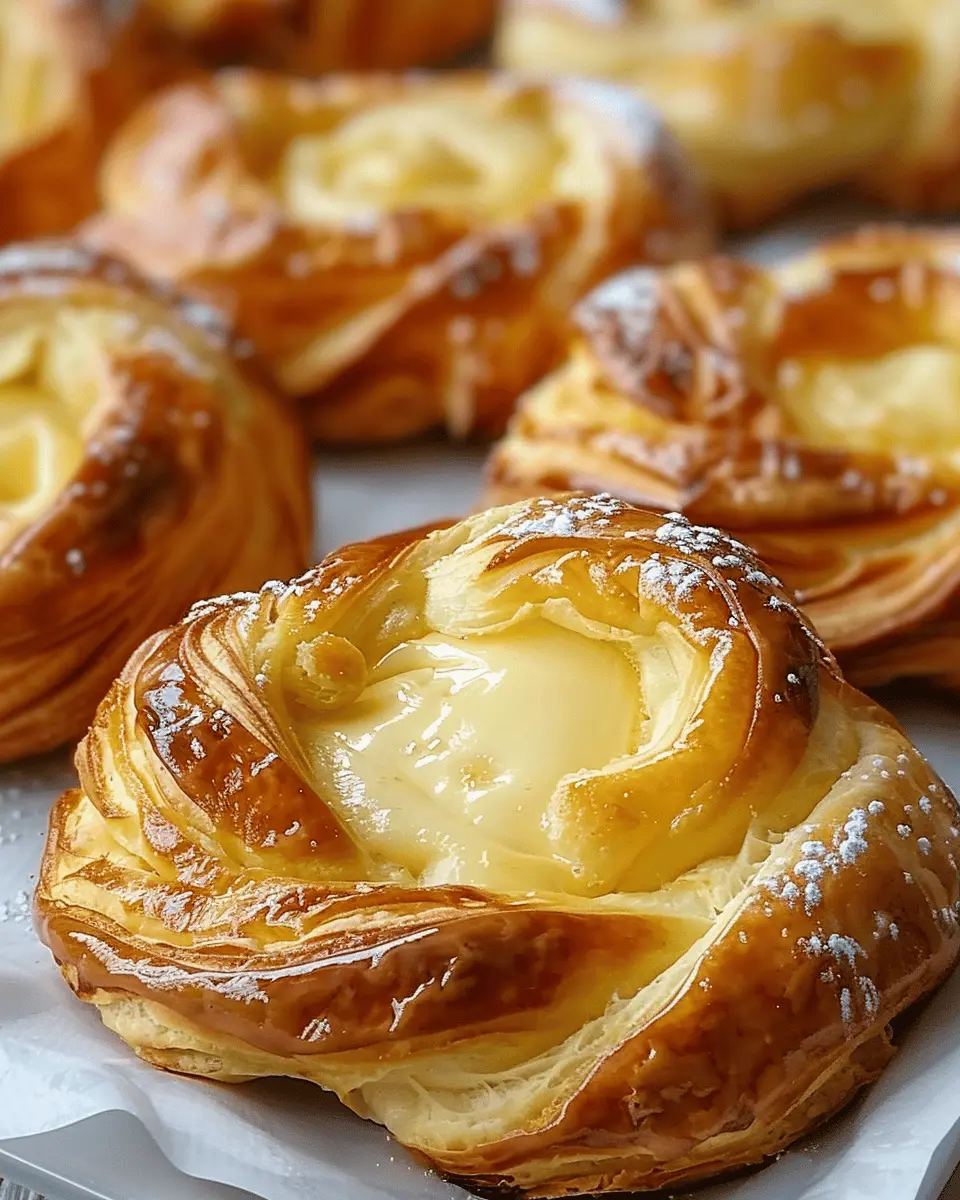
Creating a Heavenly Cheese Danish at home is not just about baking; it’s about enjoying a delightful experience that resonates with your inner chef. Picture yourself enjoying a warm, flaky pastry filled with creamy cheese – it’s the perfect blend of comfort and indulgence.
Whether you’re sharing these with friends during brunch or savoring them solo with coffee, the Heavenly Cheese Danish is bound to impress. Don’t forget, the beauty of this recipe is its versatility; you can easily customize the filling to suit your taste!
For more baking inspiration, check out King Arthur Baking for tips and tricks that elevate your pastry game. Happy baking!
PrintHeavenly Cheese Danish: The Best Homemade Indulgence For You

Indulge in the delightful taste of homemade cheese pastries.
- Prep Time: 20 minutes
- Cook Time: 25 minutes
- Total Time: 45 minutes
- Yield: 12 servings 1x
- Category: Dessert
- Method: Baking
- Cuisine: French
- Diet: Vegetarian
Ingredients
- 1 package puff pastry
- 8 ounces cream cheese
- 1/2 cup powdered sugar
- 1 teaspoon vanilla extract
- 1 egg (for egg wash)
Instructions
- Preheat the oven to 375°F (190°C).
- Roll out the puff pastry and cut it into squares.
- In a bowl, mix the cream cheese, powdered sugar, and vanilla until smooth.
- Place a spoonful of the cream cheese mixture in the center of each pastry square.
- Fold the corners of the pastry over the filling and seal.
- Brush the tops with the egg wash.
- Bake for 20-25 minutes or until golden brown.
- Let cool before serving.
Notes
- Add fruit preserves for extra flavor.
Nutrition
- Serving Size: 1 danish
- Calories: 250
- Sugar: 15g
- Sodium: 200mg
- Fat: 15g
- Saturated Fat: 8g
- Unsaturated Fat: 5g
- Trans Fat: 0g
- Carbohydrates: 25g
- Fiber: 1g
- Protein: 4g
- Cholesterol: 30mg
Keywords: Heavenly Cheese Danish, homemade cheese pastry, dessert