Introduction to Snowball Cake Recipe
When it comes to desserts that can steal the show, the snowball cake is an absolute gem. This delightful confection isn’t just visually stunning; it also delivers an irresistible flavor that keeps dessert lovers coming back for more. Whether you’re planning a festive gathering, a cozy family dinner, or simply want to treat yourself and your loved ones, this cake stands out as a versatile option.
Why Snowball Cake Is the Perfect Dessert for Every Occasion
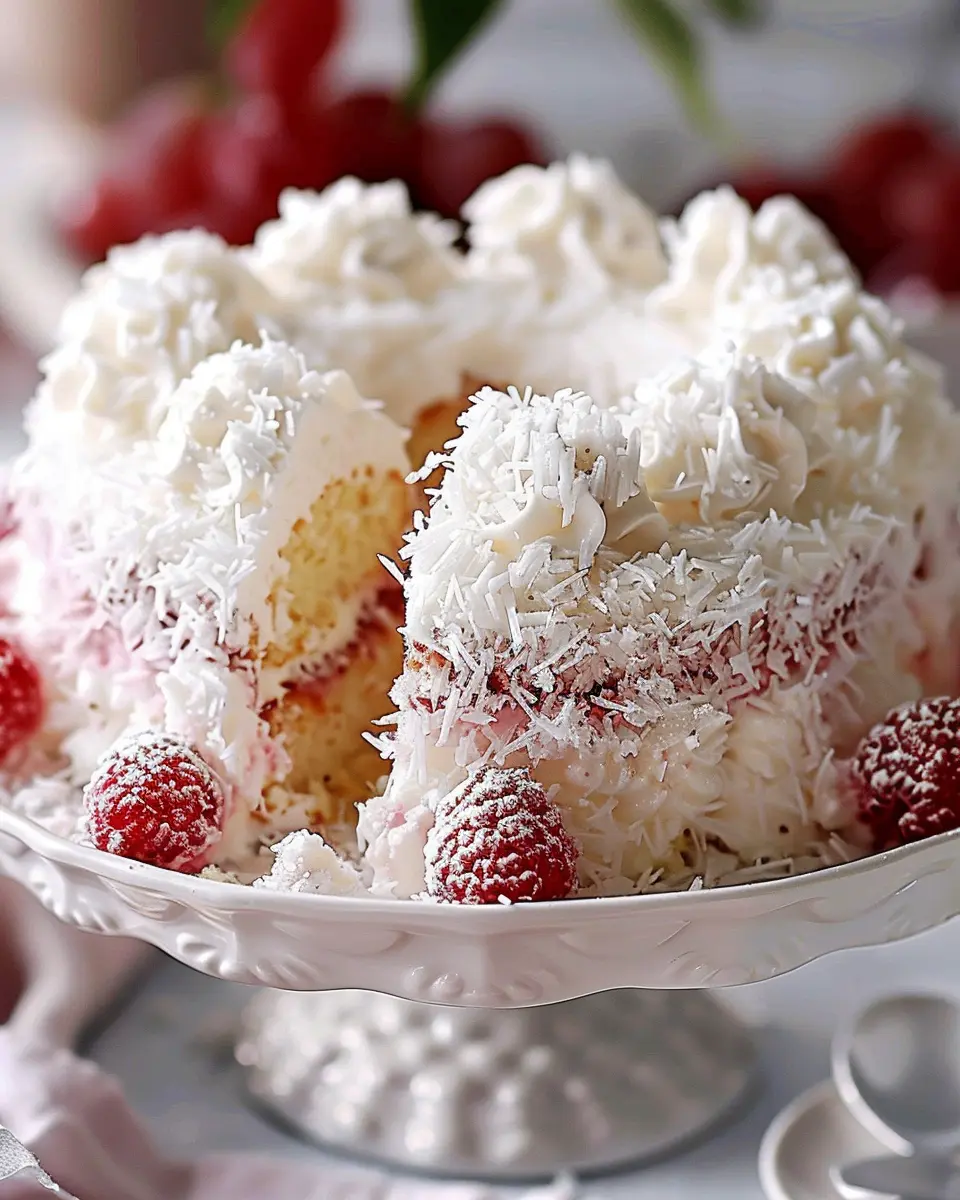
There’s something magical about a snowball cake. The layers of fluffy cake, whipped cream, and a dusting of coconut create an inviting allure that caters to various tastes and preferences. Let’s talk about why this dessert is such a fantastic choice:
-
Versatile Flavor Profile: The snowball cake recipe can be adapted to incorporate seasonal flavors or your personal favorites. Imagine a rich chocolate base for a winter wonderland theme, or perhaps a zesty lemon cake that screams summer.
-
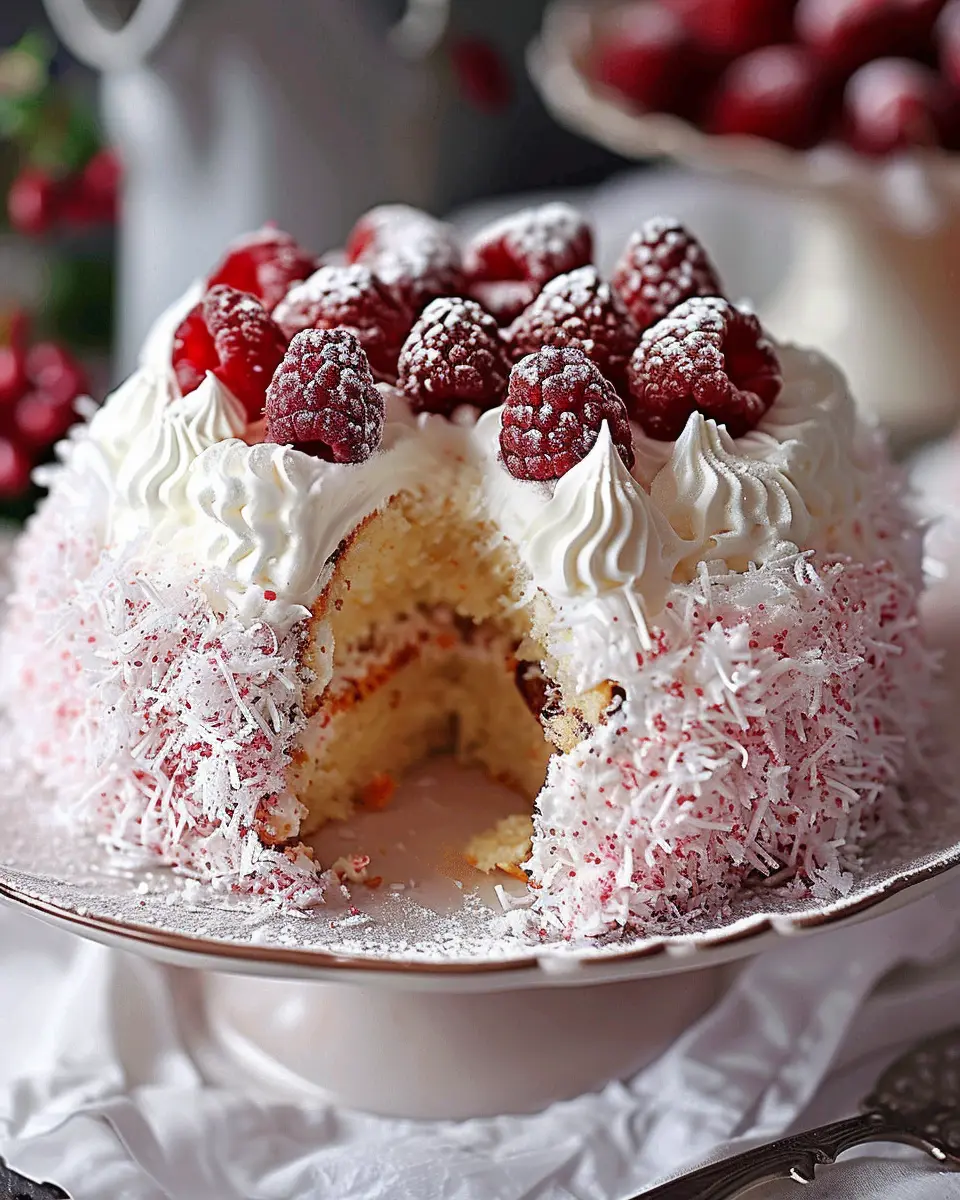
Visually Striking: With its snowy white exterior and often vibrant fillings, it’s a conversation starter at any gathering. It’s perfect for holiday parties, birthdays, or even casual get-togethers. You can check out more ideas on dessert presentation through sources like The Kitchn.
-
Easily Customizable: This cake allows for endless possibilities. From experimenting with different fillings like fresh fruits or flavored creams to topping it off with a variety of nuts or sprinkles, you can personalize it to suit any palate or dietary need.
-
A Nostalgic Comfort: Many of us have fond memories linked to family baking sessions, especially during holidays. A snowball cake brings back that nostalgic warmth, creating new memories with every slice shared. According to food historians, many desserts can evoke emotional responses, making this cake not just a recipe but a tradition.
In conclusion, if you’re looking for a dessert that melds wonderful appearance, adaptability, and a touch of nostalgia, the snowball cake is your go-to treat. So, roll up your sleeves as we dive into the details of this delectable recipe, proving that baking can be both fun and satisfying! Stay tuned for the full recipe, and let’s make some sweet memories together.

Ingredients for the Snowball Cake Recipe
Creating the perfect snowball cake isn’t just about following a recipe; it’s about bringing together some delectable ingredients that make your dessert truly shine. Here’s a helpful breakdown of what you’ll need.
Essential ingredients for the cake
To whip up a fluffy and moist snowball cake, gather these essentials:
- All-purpose flour: This is the foundation of your cake, providing that pleasant texture.
- Granulated sugar: Sweetness is key; don’t be shy here!
- Baking powder: For that all-important rise.
- Butter: Unsalted is best to control the flavor.
- Eggs: They add richness and stability.
- Milk: Get that moistness just right.
Ingredients for the raspberry swirl
Adding a vibrant raspberry swirl will elevate your cake. You’ll need:
- Fresh or frozen raspberries: For that authentic berry flavor.
- Granulated sugar: To sweeten the raspberry mixture.
- Cornstarch: This helps to thicken the swirl and keep it from being too runny.
Ingredients for the coconut coating
To finish your cake with a delightful crunch, gather up:
- Sweetened shredded coconut: This is the star of the show, adding a tropical twist.
- Powdered sugar: For a touch of sweetness and to help it adhere to the cake.
Now that you know what ingredients to have on hand, you’ll be well on your way to a stunning snowball cake! For more tips on frosting and presentation, check out this guide on cake decorating. Happy baking!
Step-by-step Preparation of Snowball Cake
Creating a Snowball Cake is not just about following a snowball cake recipe; it’s about crafting a delicious experience that delights your taste buds and showcases your baking skills. This guide breaks down the process step-by-step, ensuring you’ll have a blast in the kitchen. Let’s get started!
Gather and Prepare Ingredients
Before diving into the baking process, it’s crucial to gather all your ingredients. Here’s what you’ll need for this mouthwatering cake:
-
For the Cake:
-
2 cups all-purpose flour
-
1 ½ cups granulated sugar
-
½ cup unsalted butter, softened
-
1 cup milk
-
3 large eggs
-
3 ½ teaspoons baking powder
-
1 teaspoon vanilla extract
-
Pinch of salt
-
For the Raspberry Swirl:
-
1 cup raspberry preserves (or your favorite fruit preserves)
-
For the Coconut Coating:
-
3 cups shredded coconut (sweetened or unsweetened, based on your preference)
Tip: Always measure your ingredients accurately for the best results!
Create the Batter
Now it’s time to whip up that batter! In a medium bowl, combine the flour, baking powder, and salt. Mix them together until well-combined—this helps ensure even rising later.
In a separate large bowl, beat the unsalted butter and granulated sugar together until the mixture is light and fluffy. This usually takes about 3-5 minutes with a handheld mixer on medium speed. Why does this matter? Creaming your butter and sugar properly incorporates air, which is essential for a light cake texture.
Next, add the eggs one at a time, ensuring each egg is fully incorporated before adding the next. Stir in the vanilla extract. Gradually alternate adding the flour mixture and milk to your creamed mixture, starting and ending with the flour. This method helps create a smooth and creamy batter.
Swirl in the Raspberry Preserves
This is where the magic happens! Pour half of the batter into a greased and floured 9×13-inch baking pan. Spoon the raspberry preserves over the batter, then add the remaining batter on top. To create that gorgeous swirl effect, use a knife or skewer to gently drag through the mixtures in a figure-eight pattern. Be careful not to overmix; we want those lovely ribbons of raspberry to shine through!
Bake the Cake
Preheat your oven to 350°F (175°C), then bake the cake for 30 to 35 minutes, or until a toothpick inserted in the center comes out clean. This is a good time to do a little dance in the kitchen—the aroma of baking cake is the best!
Once baked, remove the cake from the oven and let it cool in the pan for about 10 minutes. Then, transfer it to a wire rack to cool completely. If you’re curious about cooling methods, check out this helpful article on cake cooling techniques for tips and tricks!
Coat the Cake with Coconut
Once your cake is cool, it’s time for the grand finale! Place a generous amount of coconut on a large plate. Gently remove the cooled cake from your baking pan and frost it with a light layer of whipped cream or your favorite icing.
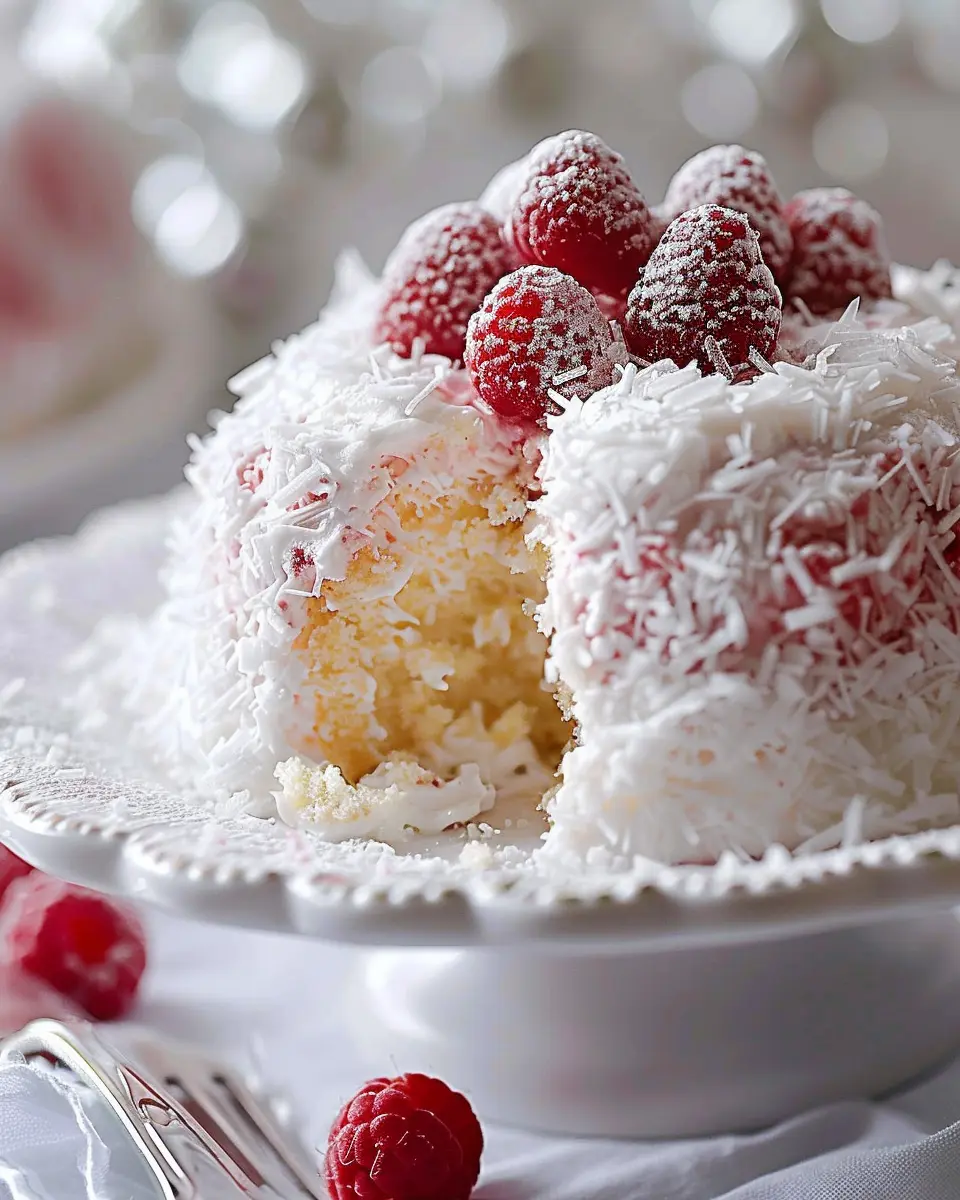
Now, the fun part: roll the frosted cake in the shredded coconut, making sure it’s evenly coated. You want that snowball look for the aesthetic appeal and added flavor!
Your Snowball Cake is now ready to be sliced and served. Enjoy sharing this delightful dessert with friends and family—it’s perfect for any celebration!
With this simple yet enticing recipe, you’ll surely impress anyone who takes a bite. For those keen on adjusting flavors or exploring different ingredients, consider a chocolate twist with chocolate frosting or even using different fruit preserves—your imagination is your limit!
Variations on the Snowball Cake Recipe
When it comes to the snowball cake recipe, the possibilities are truly endless. Whether you’re looking to impress guests or just want to try something new, let’s explore some rewarding variations that will take your snowball cakes to another level.
Tropical Twist: Lime or Pineapple Preserves
Want to brighten up your snowball cakes? Consider incorporating tropical flavors! Swapping out traditional preserves for lime or pineapple can create a refreshing twist.
- Lime Preserves: The zesty taste pairs perfectly with the sweetness of the cake, giving you a delightful contrast. Combine lime preserves with cream cheese frosting for a tangy surprise.
- Pineapple Preserves: Similar to a piña colada, this variation will transport your taste buds straight to a sunny beach. Just imagine biting into a soft cake layered with sweet pineapple goodness!
For inspiration on how to make your own preserves, check out this guide.
Mini Snowball Cakes in Cupcake Molds
If you want to serve snowball cakes at a gathering, look no further than mini versions baked in cupcake molds. These bite-sized treats make for perfect individual servings and are also great for kids (or the kid-at-heart!).
- Baking Tips: Use the same snowball cake recipe but pour the batter into greased cupcake molds. Bake for a shorter time, about 15-20 minutes, checking for doneness with a toothpick.
- Decorating Ideas: Sprinkle powdered sugar on top for that classic snowball effect, or dip them in shredded coconut for an extra-special touch.
These mini snowballs can be the highlight of any dessert table, making them not only delightful but practical too!
The next time you whip up a classic snowball cake, consider these variations. Your taste buds (and your guests) will thank you!
Cooking Tips and Notes for the Snowball Cake
Key Baking Tips for Fluffiness
Achieving the perfect snowball cake starts with your ingredients. Ensure that your eggs and milk are at room temperature before mixing to create that airy texture. Additionally, be gentle when folding in your dry ingredients—this helps maintain the cake’s delicate fluffiness. Expert bakers often recommend sifting your flour to aerate it, which can be a game-changer for your cake’s lightness. If you’re curious about more nuanced baking techniques, check out resources like Serious Eats.
Storage Tips to Keep It Fresh
To enjoy your snowball cake at its best, store leftovers in an airtight container at room temperature for up to three days. If you’re planning to indulge later, consider freezing slices. Wrap them in plastic wrap and place them in a freezer bag for up to three months. When it’s time to enjoy your cake again, simply let it thaw in the fridge overnight. Keeping it moist is key—try placing a slice of bread in the container to help retain moisture!
These tips can elevate your experience and help you craft the perfect snowball cake recipe every time. Happy baking!
Serving Suggestions for the Snowball Cake
Ideal Pairings for Your Snowball Cake
When you bring a snowball cake to the table, you want to enhance its delightful flavor. Consider serving it alongside a fresh fruit compote, which can add a burst of natural sweetness and acidity. Seasonal berries or tropical fruits can brighten up the dessert perfectly. Additionally, a scoop of vanilla or coconut ice cream complements the cake’s textures beautifully. For a touch of sophistication, why not brew a pot of herbal tea or a rich, flavorful coffee? These beverages can elevate your dessert experience and stimulate lively conversation among your guests.
Creative Plating Ideas to Impress Guests
Presentation matters, especially when showcasing your delicious snowball cake recipe. Slice the cake into generous portions and plate it on a colorful dish to make it pop. Drizzle some berry sauce or a coconut cream reduction around the edge of the plate for a gourmet touch. For added flair, sprinkle toasted coconut or crushed pistachios on top of each slice. You can even garnish with fresh mint for a hint of color! Small, thoughtful details can impress your guests and make your dessert the star of the evening.
By focusing on these simple yet effective serving suggestions, you can turn your snowball cake into an impressive centerpiece that your friends and family will rave about! If you’re looking for more ideas to elevate your baking, check out this helpful guide.
Time Breakdown for the Snowball Cake
When tackling a delightful snowball cake recipe, it’s a great idea to keep an eye on your time. Knowing how long each step takes can make the baking experience smoother and more enjoyable. Here’s a quick overview:
Preparation Time
Expect to spend about 20-30 minutes prepping your ingredients and getting everything together. This includes mixing your batter and preparing your baking pans.
Baking Time
Your cake will take approximately 25-30 minutes to bake, depending on your oven. It’s a good practice to start checking for doneness a few minutes before the suggested time.
Total Time
In total, you’re looking at around 1-1.5 hours, giving you time for preparation, baking, and a bit of cooling. This makes it a perfect weekend project or dessert for a special gathering.
If you’re interested in perfecting your snowball cake recipe, consider checking out resources like King Arthur Baking for pro tips!
Nutritional Facts for Snowball Cake
Calories Per Slice
When indulging in a slice of your delightful snowball cake, it’s essential to be mindful of your calorie intake. On average, each slice contains approximately 350 calories. This makes it a sweet treat that’s best enjoyed in moderation, especially if you’re balancing it with a healthy lifestyle.
Breakdown of Key Nutrients
Understanding the nutritional profile of your snowball cake recipe can help you make informed choices. Here’s a quick overview of the key nutrients you’ll find in each slice:
- Fat: About 15 grams, providing that moist, rich texture.
- Carbohydrates: Roughly 50 grams, perfect for a quick energy boost.
- Protein: Approximately 5 grams, thanks to the eggs and dairy.
- Sugars: Around 25 grams, which contributes to the cake’s delightful sweetness.
If you’re aiming for a healthier version, consider using whole wheat flour or substituting some sugar with natural sweeteners. For more insight on the benefits of ingredient alternatives, check out this nutrition guide.
Knowing these facts makes enjoying your snowball cake guilt-free! Isn’t it fun to savor dessert while also admiring what’s in it?
FAQs about Snowball Cake
Can I substitute for the raspberry preserves?
Absolutely! If raspberry preserves aren’t your thing or you’re looking for an alternative, consider using other fruit preserves like blackberry, strawberry, or even apricot. Each option brings its own unique flavor to the snowball cake recipe, enhancing its overall taste. Just ensure the preserve is smooth and spreadable for the best texture and consistency. More information about this substitution can be found on culinary sites like Martha Stewart.
How do I store leftover Snowball Cake?
Storing leftover snowball cake is simple and helps maintain its deliciousness. First, cover the cake tightly with plastic wrap to prevent it from drying out. If you have a significant amount leftover, slice it into individual pieces for easier access. Then, place it in an airtight container or wrap it in foil. Your cake can be stored at room temperature for 2-3 days, or in the refrigerator for up to a week. For longer storage, consider freezing it; just wrap it well and consume it within 2-3 months for optimal flavor.
What’s the best way to serve a Snowball Cake?
Serving snowball cake is where the fun really starts! For a beautiful presentation, slice the cake carefully and display the pieces on a large platter, perhaps garnished with some fresh berries or a dusting of powdered sugar. Pair it with a scoop of whipped cream or vanilla ice cream for that indulgent touch. And don’t forget—the first slice is always the best when shared with friends over a hot cup of coffee or tea. Their smiles will surely make the effort worthwhile! Consider checking out some serving tips at Food Network for additional inspiration.
Conclusion on the Snowball Cake Recipe
Why You Should Make This Cake Today
There’s no better time than now to indulge in this delightful snowball cake recipe. Perfect for gatherings, birthday celebrations, or just a special treat for yourself, its layers of moist cake and fluffy frosting are sure to impress. Plus, you can customize it to suit various dietary preferences or flavor profiles, making it incredibly versatile.
Have you ever experienced the joy of baking something that not only tastes incredible but also brings people together? This snowball cake could be that masterpiece for you. So gather your ingredients and create a dessert that will leave everyone asking for seconds! Don’t forget to share your creations on social media with a splash of creativity—who knows, you might even inspire your friends to bake!
PrintSnowball Cake Recipe: Easy, Indulgent Treat for Any Occasion
A delightful snowball cake that’s perfect for any occasion, easy to prepare and indulgent in flavor.
- Prep Time: 15 minutes
- Cook Time: 35 minutes
- Total Time: 50 minutes
- Yield: 12 servings 1x
- Category: Dessert
- Method: Baking
- Cuisine: American
- Diet: Vegetarian
Ingredients
- 2 cups all-purpose flour
- 1 ½ cups granulated sugar
- ½ cup unsweetened cocoa powder
- 1 cup whole milk
- ½ cup vegetable oil
- 3 large eggs
- 2 teaspoons vanilla extract
- 1 teaspoon baking powder
- 1 teaspoon baking soda
- ½ teaspoon salt
- 2 cups shredded coconut
- 1 cup heavy cream, whipped
Instructions
- Preheat your oven to 350°F (175°C). Grease and flour two round cake pans.
- In a large bowl, combine the flour, sugar, cocoa powder, baking powder, baking soda, and salt.
- Add the milk, vegetable oil, eggs, and vanilla to the dry ingredients and mix until well combined.
- Divide the batter evenly between the prepared cake pans.
- Bake for 30-35 minutes or until a toothpick inserted in the center comes out clean.
- Let the cakes cool in the pans for 10 minutes, then turn out onto wire racks to cool completely.
- Once cooled, frost the cakes with whipped cream and cover with shredded coconut.
Notes
- For an extra indulgent touch, drizzle with chocolate ganache before serving.
Nutrition
- Serving Size: 1 slice
- Calories: 400
- Sugar: 35g
- Sodium: 200mg
- Fat: 22g
- Saturated Fat: 10g
- Unsaturated Fat: 12g
- Trans Fat: 0g
- Carbohydrates: 45g
- Fiber: 2g
- Protein: 5g
- Cholesterol: 80mg
Keywords: snowball cake, cake recipe, dessert, indulgent treat