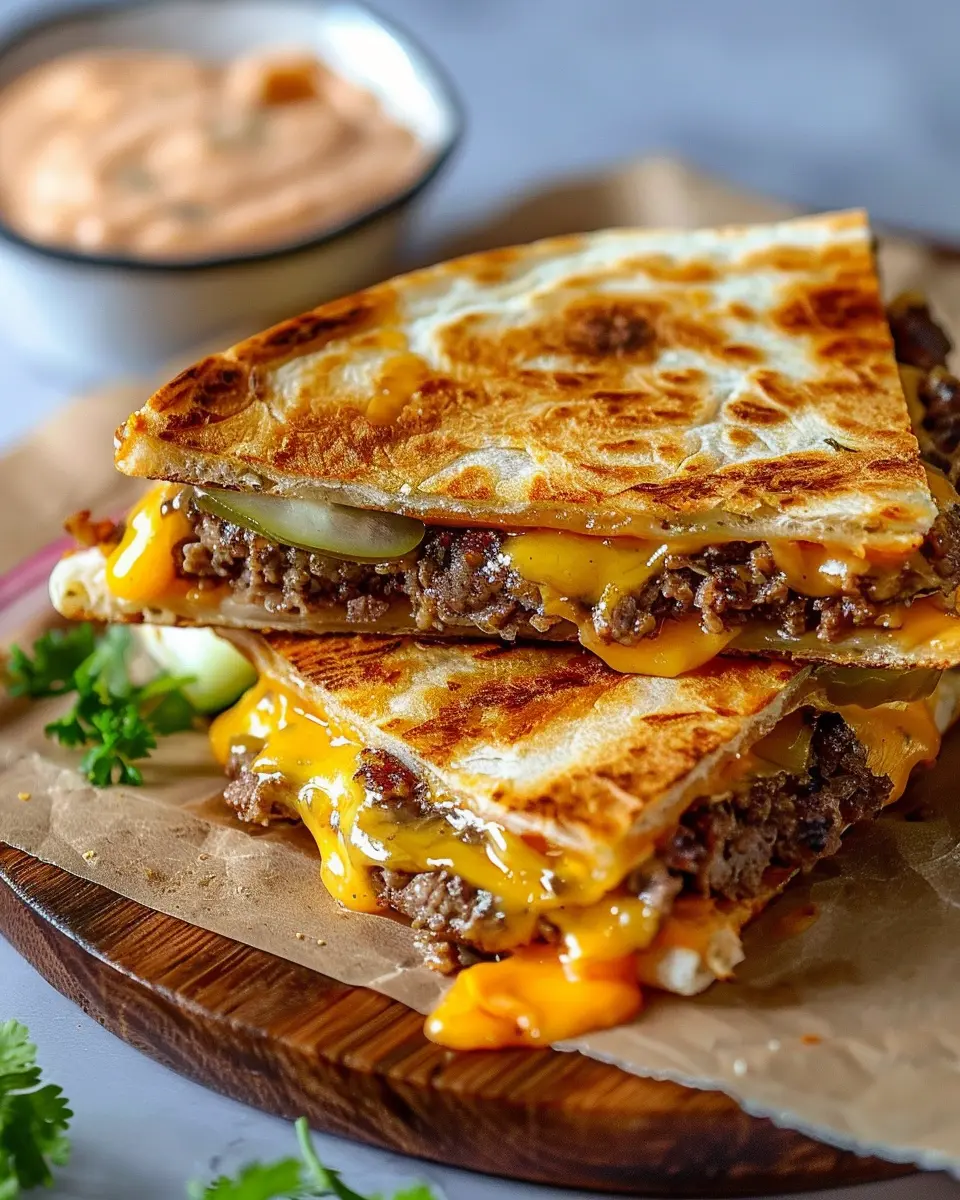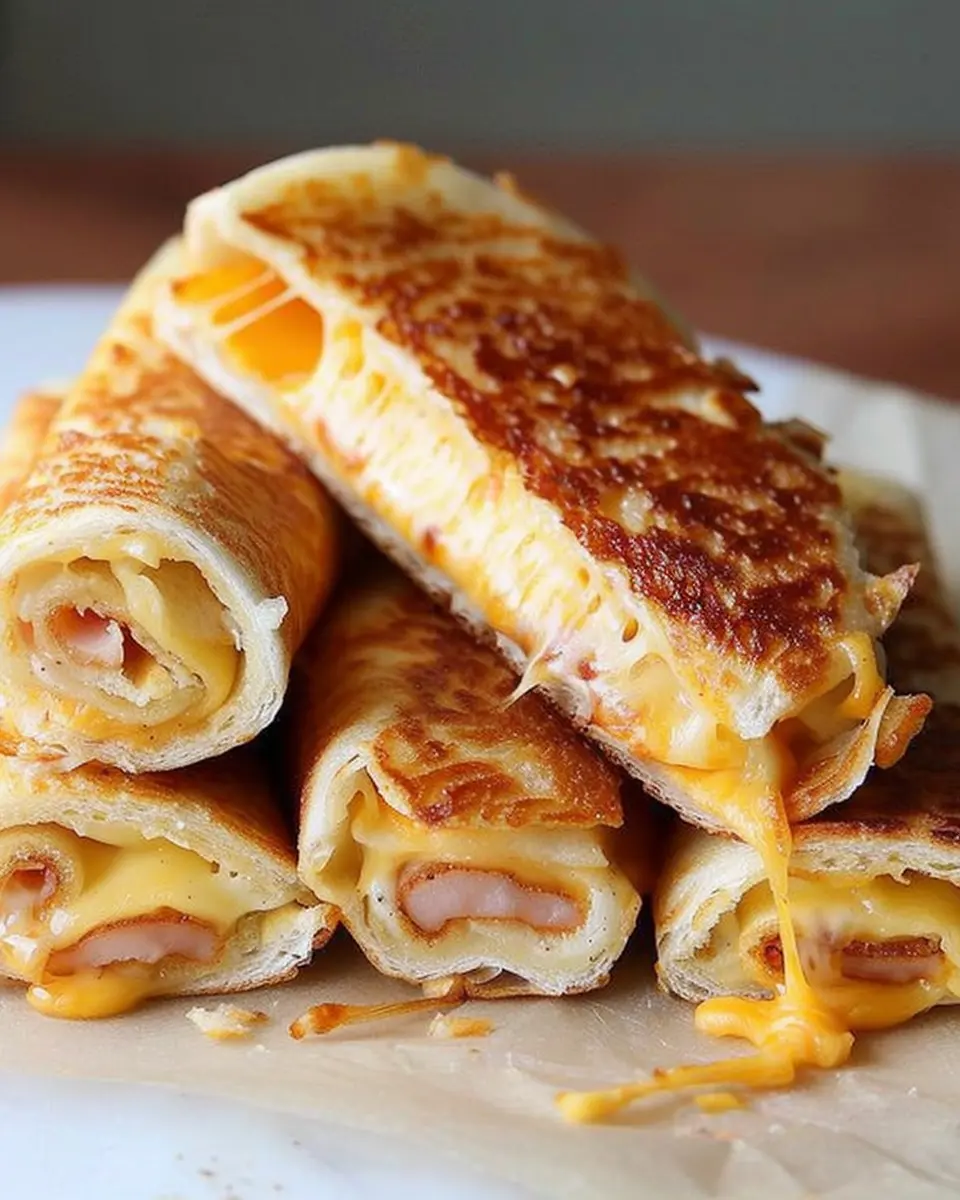
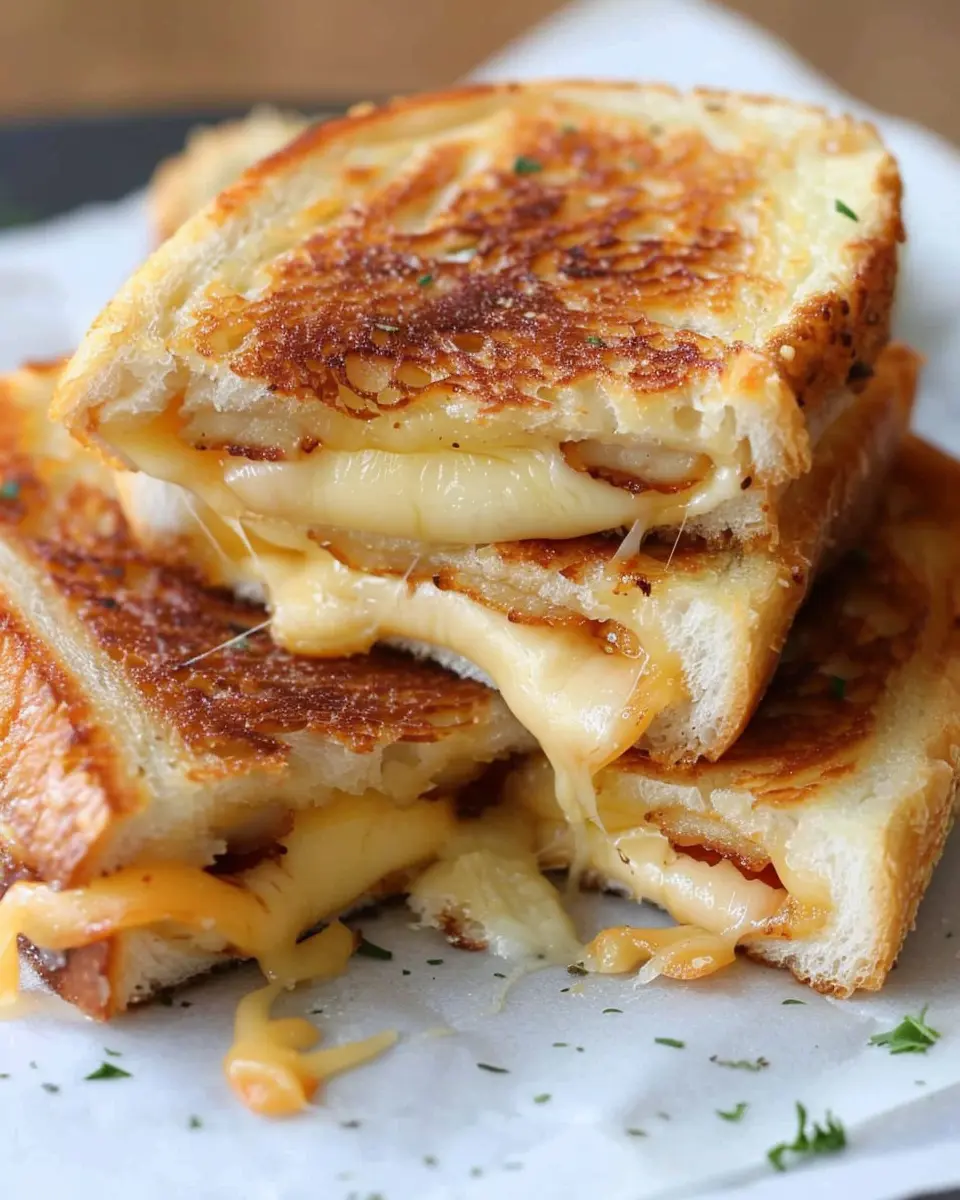
Introduction to Grilled Cheese Roll-Ups
Have you ever found yourself craving a classic grilled cheese, but needed it to fit your busy lifestyle? Enter grilled cheese roll-ups! These delightful bites offer all the comfort of the beloved sandwich in a fun and portable form. Perfectly crispy on the outside and delectably gooey on the inside, they make an irresistible snack or meal that can easily be whipped up in just a few minutes.
Why Grilled Cheese Roll-Ups are a Game-Changer for Young Professionals
For many young professionals juggling work, social life, and personal goals, meal prep can often feel overwhelming. The beauty of grilled cheese roll-ups is their simplicity. Just grab a few key ingredients:
- Slices of bread
- Cheese of your choice (we adore cheddar or mozzarella)
- Turkey bacon or chicken ham for that extra savory kick (optional)
- Your favorite dipping sauce
The pared-down recipe means you’re not scouting for elusive ingredients or spending hours in the kitchen. According to a recent survey, 60% of professionals interested in cooking at home feel time is their biggest barrier to home-cooked meals (source). With grilled cheese roll-ups, you can conquer that time crunch!
But the benefits don’t stop there. These roll-ups are not just swift to prepare; they’re also incredibly versatile. Feel free to experiment with different fillings or toppings based on what you have in your pantry or your taste preferences. Whether you’re in the mood for a sweet variation with Nutella and bananas or a savory one with avocado and spinach, the possibilities are endless.
Need a quick Netflix binge-watching snack? Grilled cheese roll-ups are here for you! Hosting friends? These bite-sized wonders can easily be made as crowd-pleasers.
So, if you’re ready to elevate your snacking game and make your meals more exciting, let’s dive into this recipe. You might discover that grilled cheese roll-ups quickly become a staple in your culinary repertoire!
Ingredients for Grilled Cheese Roll-Ups
If you’re on the lookout for a fun and delicious twist on the classic grilled cheese sandwich, then grilled cheese roll-ups are just what you need! Not only are they easy to make, but they also appeal to both kids and adults alike. Here’s what you’ll need to gather before diving into this cheesy goodness:
Essential Ingredients
- Bread: Choose your favorite type; white, whole grain, or sourdough work great!
- Cheese: Opt for a melty variety like cheddar, mozzarella, or a mix for an interesting flavor profile.
- Turkey Bacon: A fantastic alternative to traditional bacon, adding a satisfying crunch without the extra fat.
- Chicken Ham: This gives a lovely salty bite, perfectly complementing the gooey cheese.
- Butter: A must for that golden, crispy exterior—don’t skimp on this!
Getting these ingredients together will set the stage for a fun, unique meal that’s perfect for any occasion. If you want to experiment further, consider adding some fresh herbs or a dab of mustard for an extra zing!
For some insights on cheese types and their melting properties, check out this helpful guide from Cheese.com. Enjoy your culinary adventure!
Preparing Grilled Cheese Roll-Ups
Grilled cheese roll-ups are not just a nostalgic treat from your childhood; they’re a fun, modern twist on a classic! Perfect for busy weeknights or a quick snack, these crispy, cheesy delights will satisfy your cravings and impress your friends. Let’s dive into the steps to create these delicious grilled cheese roll-ups!
Gather Your Ingredients and Equipment
Before you start cooking, it’s essential to gather all your ingredients and equipment. For this recipe, you’ll need:
- Bread: White or whole wheat works great, but feel free to use your favorite type.
- Cheese: Cheddar, mozzarella, or a blend — the choice is yours!
- Chicken ham: Optional, but it adds a delightful protein punch to your roll-ups.
- Butter: For that perfectly golden crust.
- Equipment: A rolling pin, frying pan, and spatula.
Don’t forget to set your kitchen up for an efficient cooking process! Having everything within arm’s reach makes the experience smoother. Check out This Old House for tips on kitchen organization that might save you time.
Trim and Roll the Bread
To get that classic grilled cheese feel, start by trimming the crusts off your bread slices. It sounds simple, but it makes a difference when rolling! You want the bread to be flexible and easy to work with.
Next, use a rolling pin to gently flatten each slice. This helps create a thin, pliable surface that can easily wrap around your fillings. If you don’t have a rolling pin, a clean bottle can work just as well! Flatten each slice to about a quarter-inch thick for optimal rolling.
Add Cheese (and Chicken Ham, if Desired)
Now comes the fun part: adding your cheese! Take a generous handful of shredded cheese and sprinkle it over the flattened bread slice. If you’re using chicken ham, lay it on top of the cheese. How much cheese and ham you add is totally up to you!
What’s your favorite cheese combination? Mixing cheeses can raise the flavor profile of your roll-ups. Don’t be afraid to experiment!
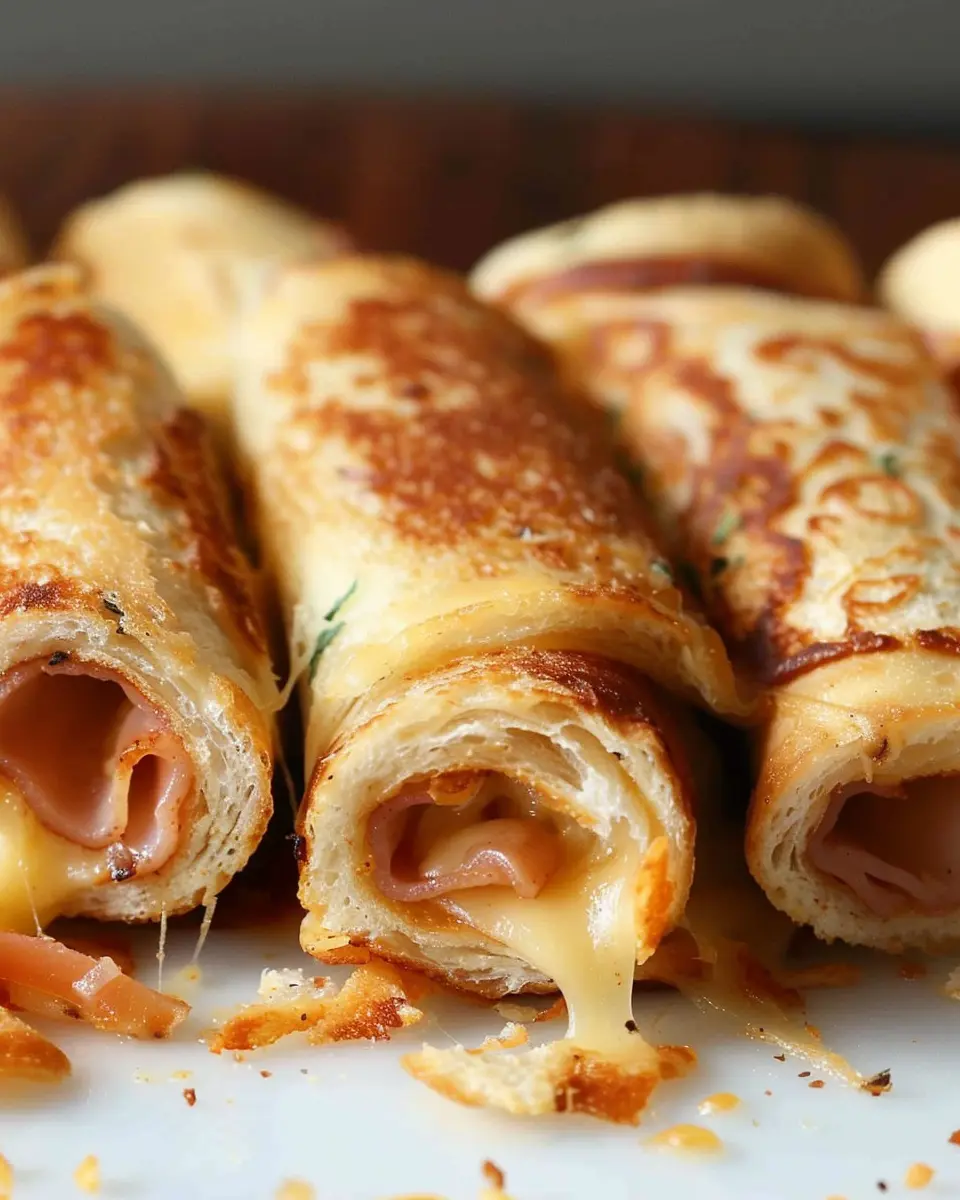
Roll It Up and Secure
After adding the cheese and any additional ingredients, it’s time to roll. Start at one end and carefully roll the bread towards the other end, making sure to keep the cheese and ham tucked inside. This is where the magic happens!
To keep everything in place, use a toothpick to secure the roll-up. If you’re a fan of a crispy exterior, consider brushing the outside of the roll-ups with a little butter before cooking! It’s those small details that elevate a basic dish into something special.
Cook Them to Perfection
Heat a frying pan over medium heat and add a small amount of butter. When the butter is melted and bubbly, it’s time to add your grilled cheese roll-ups. Cook them until they’re golden brown on each side, usually about 2-3 minutes per side.
Keep an eye on them! You want a beautiful, crispy exterior without burning the bread or undercooking the cheese. You’ll know they’re done when the cheese is melted and oozing out slightly.
Once cooked, let them cool for a minute, then serve with your choice of sauce—ketchup, marinara, or even a zesty dipping sauce all work well!
With these straightforward steps, you’ll be enjoying your homemade grilled cheese roll-ups in no time. They’re perfect for meal prep or a late-night snack, and you can customize them to suit any palate. So, what are you waiting for? Grab those ingredients and get rolling!
Variations on Grilled Cheese Roll-Ups
Classic Cheesy Roll-Ups
When you think of comfort food, grilled cheese roll-ups typically come to mind in their most delightful form: gooey, melty cheese rolled up in toasted bread. For this classic version, you just need a few simple ingredients. Grab your favorite sandwich bread—white, whole wheat, or sourdough—and slice it thin.
- Cheese Choices: Opt for classic American, cheddar, or a melty blend for maximum cheesiness.
- Preparation: Simply flatten the bread slices, add a generous amount of cheese, roll them up, and grill until golden and toasty.
As you bite into these roll-ups, the molten cheese provides that satisfying stringiness we all love. You can pair these with a homemade tomato soup or serve them with your choice of dipping sauces, such as ranch or buffalo sauce.
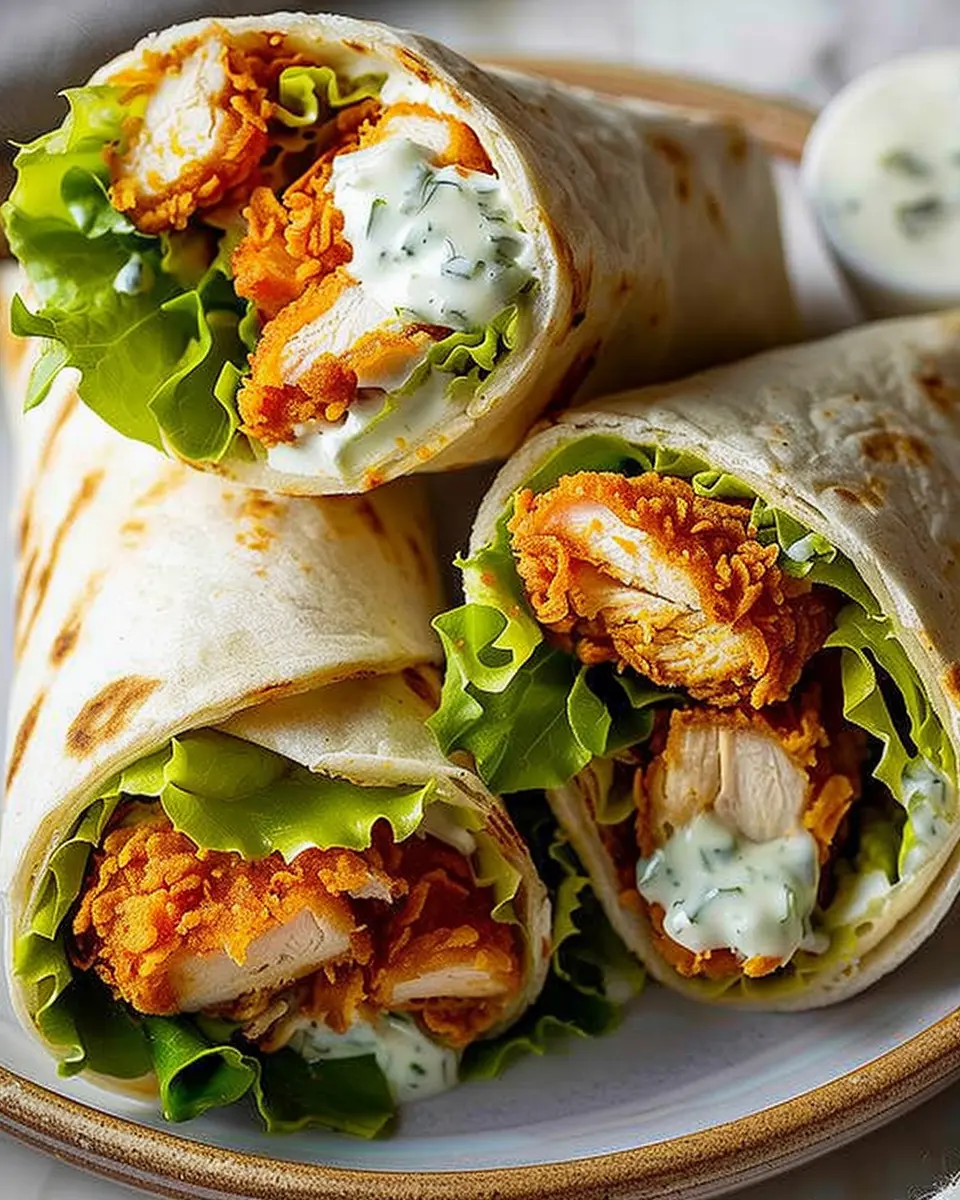
Loaded with Chicken, Turkey Bacon, and Veggies
Why stop at just cheese? Elevate your grilled cheese roll-ups into a full-on meal experience by adding chicken, turkey bacon, and assorted veggies! This variation is not only delicious but also packed with nutrients and flavors.
- Ingredients to Consider:
- Diced chicken or turkey bacon for protein
- Spinach, tomatoes, or avocados for a fresh twist
- A sprinkling of your favorite herbs like basil or oregano to enhance the taste
Start by sautéing your chicken and veggies until they’re tender. Layer these goodies with your cheese before rolling up the bread. The crunch of the veggies and the savory notes from the chicken and turkey bacon add a delightful contrast to the creamy cheese. Pair this with a refreshing side salad or a zesty dipping sauce.
Feeling inspired? Check out these tips for meal prep to make these roll-ups a quick, go-to treat for your busy week!
Cooking Tips and Notes for Grilled Cheese Roll-Ups
When making grilled cheese roll-ups, a few simple tips can elevate your dish from good to exceptional. Here are some friendly suggestions:
-
Choose the Right Bread: Opt for a bread that’s soft and pliable, like white or whole wheat. This makes rolling them up easier and helps prevent tearing.
-
Heat Control Matters: Use medium heat to ensure the cheese melts perfectly without burning the bread. A too-high flame can cause a crispy exterior with an unmelty interior.
-
Experiment with Fillings: While traditional cheese works well, try adding fillings like turkey bacon or chicken ham for an extra flavor punch. A touch of herbs or spices can also enhance the flavor.
-
Dipping Sauces: Elevate your roll-ups with sauces like marinara or ranch on the side. They add a fun twist and a bit of moisture!
For more insights on grilled cheese variations, check out sources like Serious Eats.
Remember, practice makes perfect. Don’t worry if your first batch doesn’t look Instagram-ready. Enjoy the delicious journey!
Serving Suggestions for Grilled Cheese Roll-Ups
When it comes to grilled cheese roll-ups, versatility is key! These delightful bites can easily transition from a cozy weeknight dinner to an impressive snack for gatherings. Let’s explore some serving suggestions that elevate your roll-ups and make them even more irresistible.
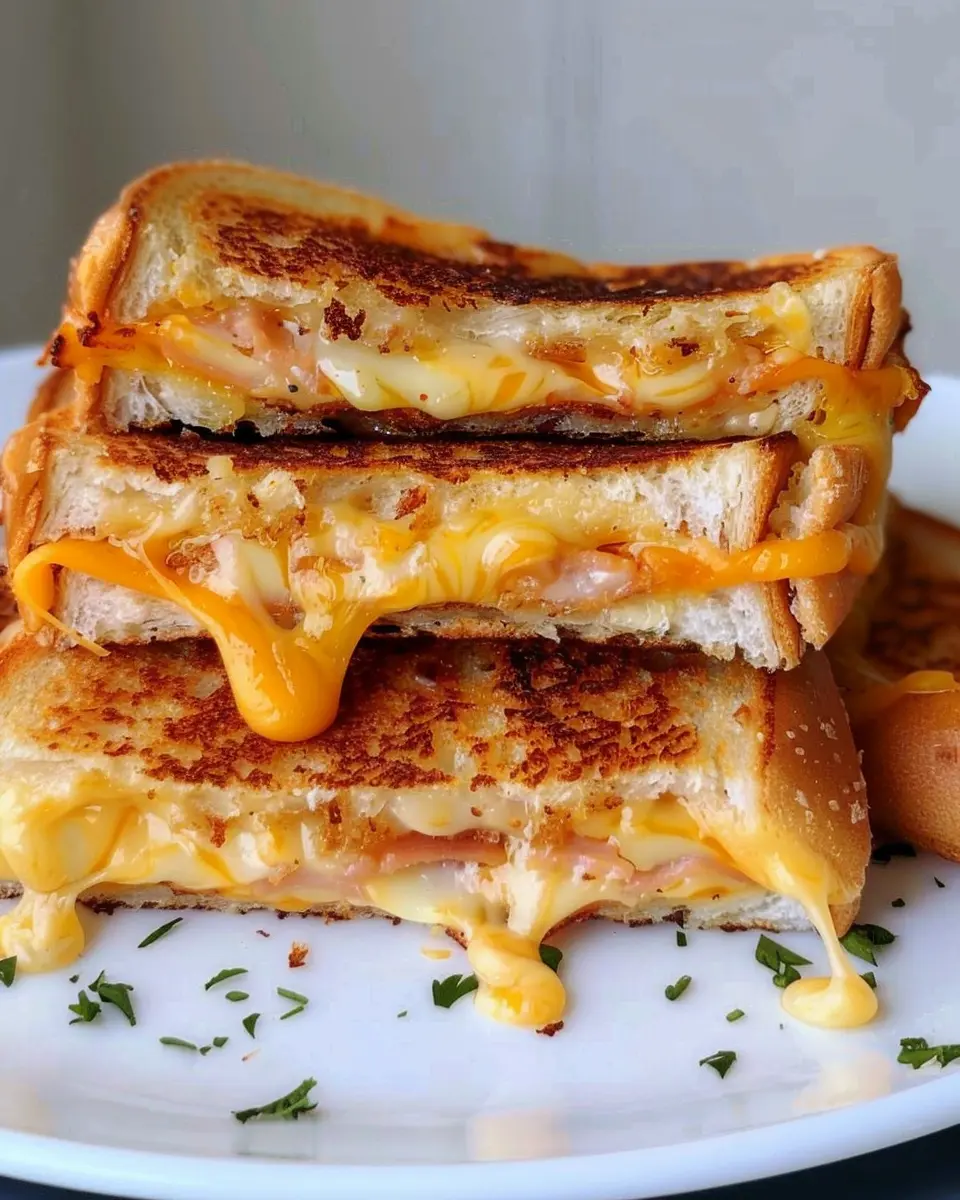
Dipping Sauces That Delight
- Tomato Basil Soup: A classic companion, the tangy flavors of homemade tomato basil soup complement the grilled cheese roll-ups perfectly. Plus, it adds a comforting warmth that everyone loves.
- Spicy Mustard: For those who crave a kick, try serving with spicy mustard. The tanginess cuts through the cheese, enhancing the flavor profile.
- Avocado Ranch Dip: This creamy dip adds a refreshing twist, pairing beautifully with the gooey goodness of your roll-ups.
Sides for a Complete Meal
- Garden Salad: A light and crisp garden salad balances the richness of the roll-ups, making your meal feel wholesome.
- Sweet Potato Fries: These add a satisfying crunch, and their natural sweetness plays off the savory roll-ups beautifully.
Next time you whip up these grilled cheese roll-ups, remember these suggestions! They not only enhance your meal but also impress your guests. Don’t forget to check out delicious dipping recipes and explore more inventive ideas for your next culinary adventure!
Time Breakdown for Grilled Cheese Roll-Ups
Preparation Time
Getting started on your grilled cheese roll-ups is a breeze. You’ll need about 10 minutes to gather your ingredients and get everything prepped. This includes laying out your bread, cheese, and any delightful additions like turkey bacon or chicken ham.
Cooking Time
Once your ingredients are prepped, the cooking time is equally swift. Expect to spend around 5-10 minutes on the stove, grilling those delicious roll-ups to golden perfection. Keep an eye on them to ensure they don’t burn!
Total Time
Altogether, you’re looking at approximately 15-20 minutes to whip up these tasty bites. Perfect for a quick lunch or an easy dinner option! So, what are you waiting for? Dive into making these scrumptious grilled cheese roll-ups and treat yourself. For more quick recipes, consider checking out Food Network for inspiration.
Nutritional Facts for Grilled Cheese Roll-Ups
When it comes to enjoying grilled cheese roll-ups, it’s good to know what’s inside that deliciousness! Here’s a brief overview of the key nutritional elements.
Calories
One serving of grilled cheese roll-ups typically contains around 250-300 calories. This can vary depending on the type of bread and cheese used, but it’s a satisfying treat that won’t break your caloric bank.
Protein
These delightful roll-ups pack a decent protein punch with 12-15 grams per serving, especially when you personalize your recipe with some turkey bacon or chicken ham. Protein helps keep you feeling full and fueled throughout your busy day.
Sodium
While enjoying your grilled cheese roll-ups, keep an eye on the sodium content, which can range from 500-700 mg. This can elevate quickly based on added ingredients like processed cheeses. Be sure to check labels or experiment with lower-sodium options for a healthier meal.
For a deeper dive into balanced eating, check out resources from the American Heart Association or MyPlate for tips on incorporating healthier choices into your meals.
FAQs about Grilled Cheese Roll-Ups
Can I use different types of cheese?
Absolutely! The beauty of grilled cheese roll-ups is their versatility. While classic options like cheddar or mozzarella are always a hit, feel free to experiment. Gouda, pepper jack, or even a sharp blue cheese can add exciting flavors. For those avoiding dairy, check out vegan cheese alternatives, which can melt beautifully when cooked.
How can I make them crispy without burning?
Getting that perfect crispy texture without risking a char can be a bit tricky. Here are some helpful tips:
- Use medium heat: Cooking on too high a flame can lead to burned outsides and gooey insides. Patience is key!
- Butter evenly: Make sure to spread butter evenly on the outside of your roll-ups. This promotes even browning and a delightful crunch.
- Flatten gently: After rolling up the sandwich, press it slightly with a spatula while it cooks. This helps the bread toast evenly.
What’s a good dipping sauce for grilled cheese roll-ups?
Dipping sauces are a fantastic way to elevate your grilled cheese roll-ups. Here are a few favorites:
- Marinara sauce: A classic pairing that perfectly complements the cheesy flavors.
- Ranch dressing: For those who love a bit of tanginess.
- Spicy ketchup: Add some heat for an exciting twist.
Feel free to get creative! These sauces not only enhance your snack but also make for a fun sharing experience. If you’re looking for more ideas, check out Taste of Home’s dipping sauce options.
With these tips in hand, you’re ready to enjoy your grilled cheese roll-ups to the fullest! Happy cooking!
Conclusion on Grilled Cheese Roll-Ups
In summary, grilled cheese roll-ups are not just a delightful twist on a classic but also a versatile and fun meal option. Easy to customize with ingredients like Turkey Bacon, Chicken Ham, or even fresh veggies, they cater to various tastes. Perfect for both casual dinners and sophisticated gatherings, these roll-ups are sure to impress your friends and family alike. Pair them with a chilled refreshing drink, like lemonade or iced tea, for a fantastic midday snack or satisfying dinner. Dive into this delicious recipe and let your creativity shine in the kitchen! Check out some cooking tips and tricks for extra inspiration.
PrintGrilled Cheese Roll-Ups: An Easy Twist with Turkey Bacon Delight

Enjoy the delightful combination of gooey cheese and crispy turkey bacon wrapped in a tasty roll. Perfect for a snack or a fun twist on traditional grilled cheese!
- Prep Time: 10 minutes
- Cook Time: 10 minutes
- Total Time: 20 minutes
- Yield: 2 servings 1x
- Category: Snacks
- Method: Skillet
- Cuisine: American
- Diet: Omnivore
Ingredients
- 4 slices bread
- 2 slices cheddar cheese
- 4 strips turkey bacon
- 2 tablespoons butter
- 1 teaspoon garlic powder
- 1 teaspoon dried parsley
Instructions
- Preheat the skillet over medium heat.
- Flatten the bread slices with a rolling pin.
- Place cheese and half a cooked bacon strip on each slice of bread.
- Roll the bread tightly around the filling.
- Melt butter in the skillet and add the garlic powder and parsley.
- Cook the bread rolls in the skillet until golden brown on all sides.
- Serve warm.
Notes
- Feel free to use different types of cheese.
- Add vegetables such as spinach or tomato for extra flavor.
Nutrition
- Serving Size: 2 roll-ups
- Calories: 350
- Sugar: 1g
- Sodium: 800mg
- Fat: 22g
- Saturated Fat: 10g
- Unsaturated Fat: 8g
- Trans Fat: 0g
- Carbohydrates: 25g
- Fiber: 1g
- Protein: 15g
- Cholesterol: 40mg
Keywords: Grilled Cheese Roll-Ups, Turkey Bacon, Easy Recipe, Snack