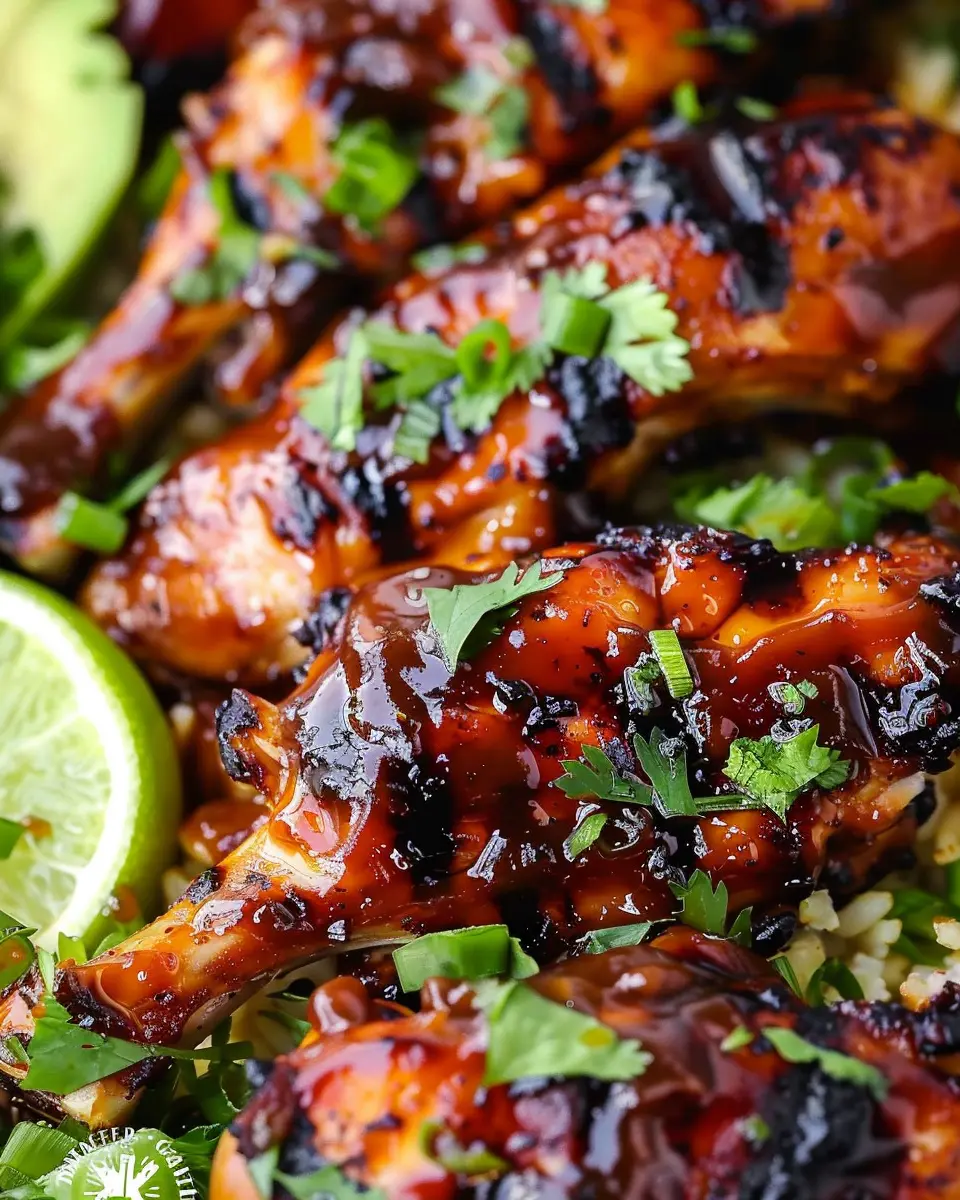
Introduction to Kid-Friendly Cheeseburger Sliders
When it comes to satisfying hungry little bellies, Kid-Friendly Cheeseburger Sliders are an absolute game-changer. But why should you opt for sliders instead of regular-sized burgers? Well, let’s dive into that!
The Appeal of Sliders
First and foremost, sliders offer the perfect bite-sized experience for kids (and let’s be honest, adults too!). They’re a fantastic way to introduce your kiddos to the classic cheeseburger without overwhelming them with a full-sized sandwich. Plus, there’s a delightful appeal to mini foods—it feels like snacking, and kids love it!
Consider hosting a slider night, where everyone can customize their own. Set out a variety of toppings like cheese, turkey bacon, lettuce, and other kid-approved goodies. According to a study by the National Cattlemen’s Beef Association, kids are more likely to try new flavors when they can personalize their meals.
Versatility in Ingredients
One of the best features of Kid-Friendly Cheeseburger Sliders is their versatility. Instead of sticking to the usual beef patties, you can experiment with different proteins. Try using chicken ham or even turkey bacon to keep things interesting and tailored to your family’s tastes. This means you can cater to various dietary preferences or restrictions while keeping the sliders delicious.
A Family-Friendly Meal
Moreover, sliders make cleanup a breeze. With smaller portions, it’s easier to manage what’s on the table, and you can limit the mess a bit—who doesn’t appreciate that after dinner time? Remember, less mess often leads to more fun and smiles around the dinner table.
Also, let’s not forget the visual appeal! Those mini burgers stacked up on a platter look irresistibly cute. You might just find yourself reaching for more than one, too!
So get ready to whip up a batch of these Kid-Friendly Cheeseburger Sliders for your next family gathering or casual weeknight dinner. You’ll not only make mealtime enjoyable but also turn it into a bonding experience for the whole family. For more insights on family-friendly dining options, consider checking out resources like PBS Cooking.

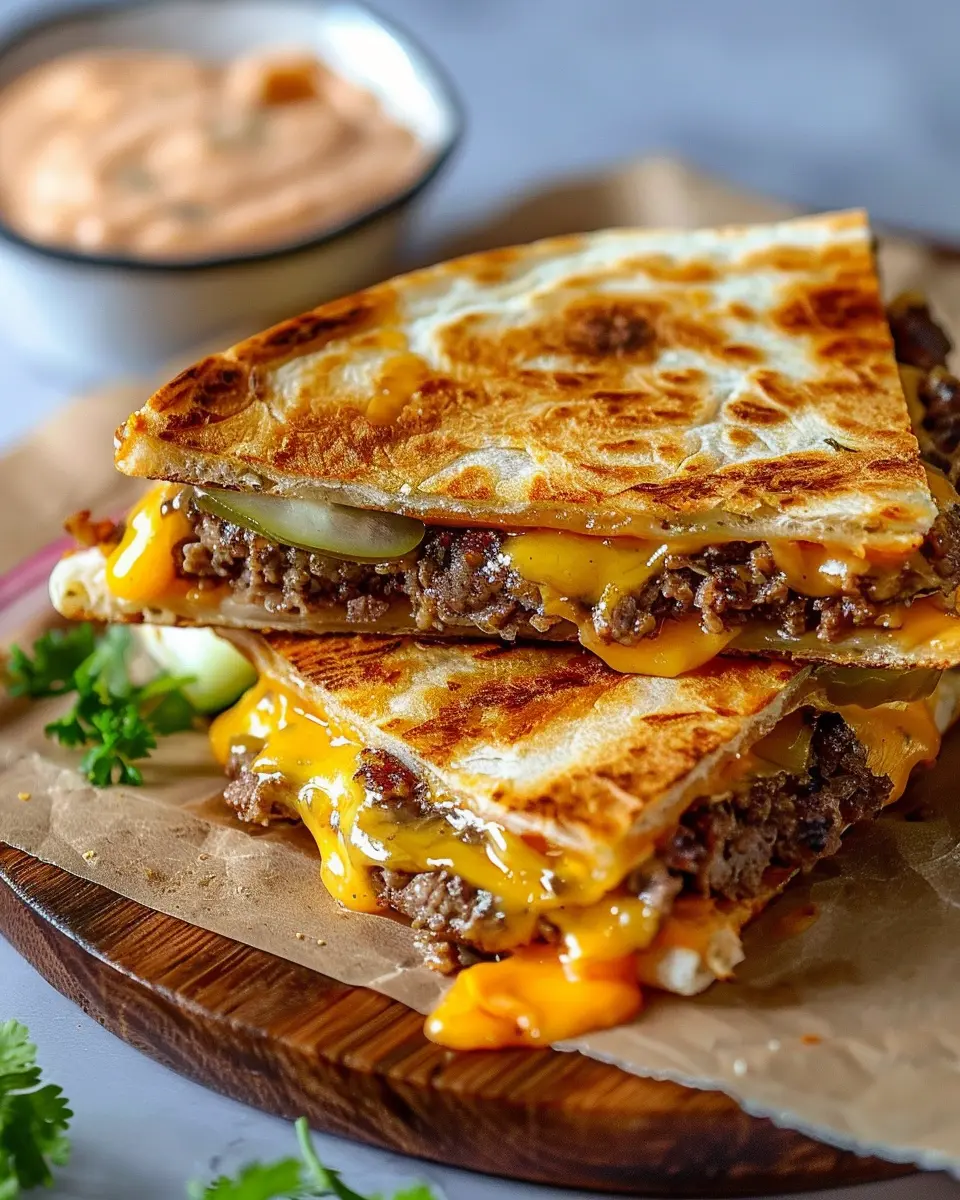
Ingredients for Kid-Friendly Cheeseburger Sliders
Creating Kid-Friendly Cheeseburger Sliders is all about combining simplicity with kid-approved flavors! Here’s what you need to make these delightful treats:
Essentials for the sliders
- Ground beef: Opt for lean ground beef, around 80/20 ratio for juiciness.
- Mini slider buns: These cute little buns are perfect for little hands.
- Seasonings: Keep it simple with salt, pepper, and a dash of garlic powder for flavor.
Cheese and topping options
Now, let’s talk cheese and toppings—where the fun truly begins!
- Cheese: Classic cheddar is a winner, but you can also try mozzarella or pepper jack for a twist!
- Toppings: Let the kids customize their sliders with options like:
- Sliced pickles
- Ketchup and mustard
- Shredded lettuce
- Sliced tomatoes
- Turkey bacon for added crunch
Feel free to explore different ingredients and get inspired! For more tips on building a perfect slider, check out resources like the American Cheese Society for cheese selection guidelines. Enjoy these tasty bites at your next family gathering!
Preparing Kid-Friendly Cheeseburger Sliders
Making Kid-Friendly Cheeseburger Sliders is not just a way to whip up an easy meal; it’s also a wonderful opportunity to engage with your kids in the kitchen. A great way to introduce them to cooking while preparing something delicious and satisfying! Let’s dive into how to prepare these mini masterpieces step by step.
Gather and Prep Your Ingredients
Before we dive into cooking, it’s essential to gather all your ingredients. Here’s a quick list to help you get started:
- Ground beef (1 pound)
- Onion (1 small, finely chopped)
- Slider buns (12-pack, preferably whole wheat for an extra health boost)
- Cheese slices (cheddar or American work great)
- Turkey bacon (optional for a smoky flavor)
- Ketchup and mustard (to taste)
- Butter (for that delicious golden crust)
- Salt and pepper (to season)
Make sure your workspace is tidy, and have your cooking tools handy, such as a large skillet, a spatula, and a baking dish. Engaging kids in the prep work adds to the fun—let them help measure or mix!
Cook the Beef and Onion Mixture
Now for the fun part: cooking! Heat your large skillet over medium heat and add the finely chopped onion, stirring for about 2-3 minutes until it’s fragrant and soft. This not only builds flavor, but it’s also a great opportunity to talk to your kids about the aromatic magic happening in the pan!
Next, add in your ground beef, season with salt and pepper, and cook until browned. This should take about 7-10 minutes. Make sure to break the meat into smaller pieces for that perfect slider size. If you’re adding turkey bacon, you can cook it alongside the beef until it’s nice and crispy. The combination of beef and turkey bacon gives these sliders a fantastic flavor!
Assemble the Sliders in the Baking Dish
Preheat your oven to 350°F (175°C). While that’s happening, it’s time to assemble your sliders. Start by slicing the slider buns in half. Place the bottom halves into a greased baking dish. Then, layer the meat mixture evenly on top, followed by a slice of cheese on each slider. If your family enjoys a bit of variety, consider dividing the dish into sections for cheese and meat-free options.
Top each slider bun with the remaining bun halves. It’s okay if they look a little messy; it all comes together in the oven!
Brush with Butter and Bake
Once your sliders are stacked, melt a tablespoon of butter and gently brush it over the top. This creates a deliciously golden crust and adds richness to each bite. If desired, you could even sprinkle a little garlic powder for bonus flavor.
Pop the dish into your preheated oven for about 15-20 minutes, or until the cheese is nicely melted and the buns are golden brown. There’s nothing quite like the smell of freshly baked sliders wafting through your home!
Enjoy the Sliders Fresh Out of the Oven
Once they’re ready, pull the sliders out and let them cool for a minute—if you can wait that long! Serve them hot with a side of celery sticks or carrot sticks for a crunchy, healthy complement. Kids love dipping their sliders into ketchup or mustard, so it’s fun to offer a variety of options.
These Kid-Friendly Cheeseburger Sliders are not just a meal; they’re a way to create memories. Grab an extra set of hands to help with assembly, cook together, and savor every delicious bite. You’ll be amazed at how quickly they disappear!
For more ideas or variations on sliders, check out this handy guide to slider recipes and let your culinary creativity flourish!

Variations on Kid-Friendly Cheeseburger Sliders
Cheesy Turkey Bacon Sliders
If your little ones are fans of savory goodness, try these cheesy turkey bacon sliders! Simply add crispy turkey bacon and a slice of melty cheese to the classic slider recipe. The smoky flavor of the bacon combined with gooey cheese is sure to be a hit at the dinner table. Plus, turkey bacon offers a leaner alternative without sacrificing taste. You can serve them with a side of sweet potato fries or fruit to keep things balanced and healthy!
Veggie-Loaded Sliders
Looking to sneak in some greens? Veggie-loaded sliders are the way to go! Mix finely chopped bell peppers, spinach, or even grated zucchini into your ground beef or turkey patty mixture. Not only does this add a delightful crunch, but it also boosts the nutrition of these kid-friendly cheeseburger sliders. To make them even more appealing, consider using fun-shaped cookie cutters to form the patties, or let your kids help assemble the sliders with their favorite toppings.
Spicy Sliders for Adventurous Eaters
For those adventurous eaters in your family, why not spice things up a bit? Create spicy sliders by adding diced jalapeños or a hint of hot sauce to the burger mixture. This twist transforms the traditional slider into something exciting and new. Just make sure to balance the heat by serving them with a refreshing yogurt or sour cream dip on the side. It’s a fun way to introduce bold flavors and make family dinners more dynamic!
Whether you stick to the classic version or try one of these variations, kid-friendly cheeseburger sliders are sure to become a family favorite. Explore more ideas on slider variations to inspire your next meal.
Cooking Tips for Kid-Friendly Cheeseburger Sliders
Make-ahead tips
Planning ahead can save time and reduce stress, especially when you’re cooking for kids. You can prepare the Kid-Friendly Cheeseburger Sliders in advance by shaping the patties and storing them in the fridge for up to 24 hours. Alternatively, you can freeze them for up to three months. Just make sure to separate each patty with parchment paper to prevent sticking. When it’s time to cook, they’ll be ready to sizzle!
Pro tips for perfect baking
To achieve the ultimate kid-friendly cheeseburger sliders, follow these baking tips:
- Preheat your oven: Ensure you preheat it to 375°F so the sliders cook evenly.
- Use a baking sheet with a rim: This will keep any melted cheese or drippings contained, making cleanup a breeze.
- Cover with foil initially: This traps in moisture and helps keep the sliders juicy. Remove the foil in the final few minutes to allow the tops to brown beautifully.
Don’t forget to check out Food Network for more excellent tips on cooking ground beef efficiently!

Serving Suggestions for Kid-Friendly Cheeseburger Sliders
Fun Side Dishes to Pair
When it comes to making your Kid-Friendly Cheeseburger Sliders a hit, sides are key! Consider these delicious options:
- Sweet Potato Fries: These crispy treats offer a nutritious twist and are often loved by kids. They add a touch of sweetness that complements the savory sliders beautifully.
- Veggie Sticks with Hummus: Encouraging healthier eating can be fun! Colorful carrot, cucumber, and celery sticks with a creamy hummus dip bring both crunch and nutrition to your meal.
- Fruit Kabobs: Thread pieces of seasonal fruit onto skewers for a vibrant and refreshing side. They’re not just good-looking; kids typically enjoy the casual finger-food approach!
Creative Dipping Sauces
While the sliders alone are tasty, dipping sauces can elevate the experience. Here are some ideas:
- Yummy Ketchup and Mustard: Classic condiments never fail—let kids mix them for a custom flavor combo!
- Ranch Dressing: This beloved sauce pairs wonderfully with just about anything. It’s creamy, tangy, and a great way to encourage kids to try new veggies.
- Barbecue Sauce: Go for a sweet or smoky option that complements the beef in the sliders perfectly.
These simple additions can make your Kid-Friendly Cheeseburger Sliders meal more enjoyable, memorable, and even healthier. For more fun ideas, check out these excellent resources on kid-friendly meals from EatingWell and KidsHealth. Happy cooking!
Time Breakdown for Kid-Friendly Cheeseburger Sliders
Preparation time
Getting set for these delicious Kid-Friendly Cheeseburger Sliders takes about 15 minutes. This includes chopping veggies, seasoning the beef, and prepping your slider buns. It’s that easy!
Cooking time
Once you’re ready to cook, expect about 20 minutes to bring everything to a delightful finish. Whether you’re grilling or baking, the aroma will have everyone anticipating a tasty treat.
Total time
For a grand total, you’re looking at approximately 35 minutes from start to finish. Perfect for a busy weeknight or a fun weekend gathering! For more cooking tips, check out resources like Serious Eats to elevate your skills even further.
Nutritional Information for Kid-Friendly Cheeseburger Sliders
Calories per slider
Each Kid-Friendly Cheeseburger Slider clocks in at around 200 calories, making them a satisfying yet playful addition to your child’s meal rotation. As any parent knows, it’s essential to balance flavor with nutrition, and these sliders hit the mark!
Key nutrients
These sliders provide a variety of essential nutrients to support growing bodies:
- Protein: Vital for muscle development, thanks to lean beef.
- Iron: Crucial for energy levels, also contributed by the beef.
- Calcium: Your choice of cheese adds a calcium boost for strong bones.
- Vegetables: Topping them with lettuce or tomato enhances vitamin intake.
Dietary considerations
When making Kid-Friendly Cheeseburger Sliders, consider dietary restrictions or preferences:
- Gluten-free: Use gluten-free buns.
- Dairy-free: Opt for a dairy alternative cheese.
- Picky eaters: Customize toppings based on your child’s preferences.
Overall, these sliders are not just delicious but also a nutritious option for kids. Interested in more insights on healthy eating for kids? Check out this resource for expert advice.
FAQs about Kid-Friendly Cheeseburger Sliders
Can I make these sliders gluten-free?
Absolutely! Making Kid-Friendly Cheeseburger Sliders gluten-free is an easy adjustment. Simply swap out regular hamburger buns for gluten-free versions, which are widely available in grocery stores today. You can also try using lettuce wraps for a low-carb option that kids may enjoy just as much! Remember to check all ingredients, such as sauces and seasonings, to ensure they’re gluten-free. For more insights, check out Gluten Free Watchdog for reliable information on gluten-free products.
How do I store leftover sliders?
Storing leftover Kid-Friendly Cheeseburger Sliders is a breeze! Simply place them in an airtight container, separating the sliders with parchment paper if you prefer to keep them from sticking together. They can be safely stored in the refrigerator for about 3-4 days. When you’re ready to enjoy them again, reheat in the oven at 350°F for about 10 minutes to bring back that delicious, fresh taste. If you want to save them for longer, consider freezing them for up to three months. Just remember to wrap them tightly to prevent freezer burn!
Can I use a different type of meat?
Definitely! The beauty of Kid-Friendly Cheeseburger Sliders is their versatility. If you prefer turkey, chicken, or even plant-based options, feel free to substitute according to your family’s tastes. Ground turkey or chicken makes for a lighter option, while veggie patties can cater to dietary restrictions. Experimenting with different meats or meat alternatives can make each batch a unique treat!
For further inspiration, explore resourceful websites like Forks Over Knives that provide insights into healthy substitutions.
If you have more questions or need additional tips, feel free to reach out—we’re here to help make your cooking journey enjoyable!
Conclusion on Kid-Friendly Cheeseburger Sliders
Final thoughts on why these sliders are a go-to choice
When it comes to meal planning for the family, Kid-Friendly Cheeseburger Sliders are a winner every time. These little delights are not just tasty; they’re also incredibly versatile! Whether you opt for Turkey Bacon or Chicken Ham, these sliders can easily accommodate various preferences, making them an excellent addition to your recipe rotation.
Parents will appreciate how simple they are to prepare, and kids will love getting involved in the assembly process. Plus, with customizable toppings—from cheese to veggies—everyone can create their own perfect bite. For more meal inspiration, check out this article on easy family dinners. Give these sliders a try and discover why they’re such a beloved choice for families everywhere!
PrintKid-Friendly Cheeseburger Sliders: Easy Turkey Bacon Delights

These kid-friendly cheeseburger sliders are a delightful twist on a classic, made with turkey bacon that kids will love.
- Prep Time: 10 minutes
- Cook Time: 20 minutes
- Total Time: 30 minutes
- Yield: 12 sliders 1x
- Category: Main Dish
- Method: Baking
- Cuisine: American
- Diet: Gluten-Free
Ingredients
- 1 pound ground turkey
- 4 slices turkey bacon, cooked and crumbled
- 1 teaspoon garlic powder
- 1 teaspoon onion powder
- 1 teaspoon Worcestershire sauce
- 1 cup shredded cheese
- 12 slider buns
- 1 tomato, sliced
- 1 lettuce leaf, shredded
- 1/4 cup ketchup
Instructions
- Preheat your oven to 350°F (175°C).
- In a bowl, mix ground turkey, crumbled turkey bacon, garlic powder, onion powder, and Worcestershire sauce.
- Form the mixture into small patties.
- Place the patties on a baking sheet and bake for 15-20 minutes.
- During the last 5 minutes of baking, add shredded cheese on top of the patties to melt.
- Assemble the sliders by placing a patty on each bun with tomato, lettuce, and ketchup.
Notes
- These sliders can be customized with your favorite toppings.
- Consider adding pickles or mustard for extra flavor.
Nutrition
- Serving Size: 1 slider
- Calories: 200
- Sugar: 2g
- Sodium: 350mg
- Fat: 9g
- Saturated Fat: 3g
- Unsaturated Fat: 5g
- Trans Fat: 0g
- Carbohydrates: 24g
- Fiber: 1g
- Protein: 12g
- Cholesterol: 50mg
Keywords: Kid-Friendly, Cheeseburger, Sliders, Turkey Bacon