Introduction to Marbled Sugar Cookies
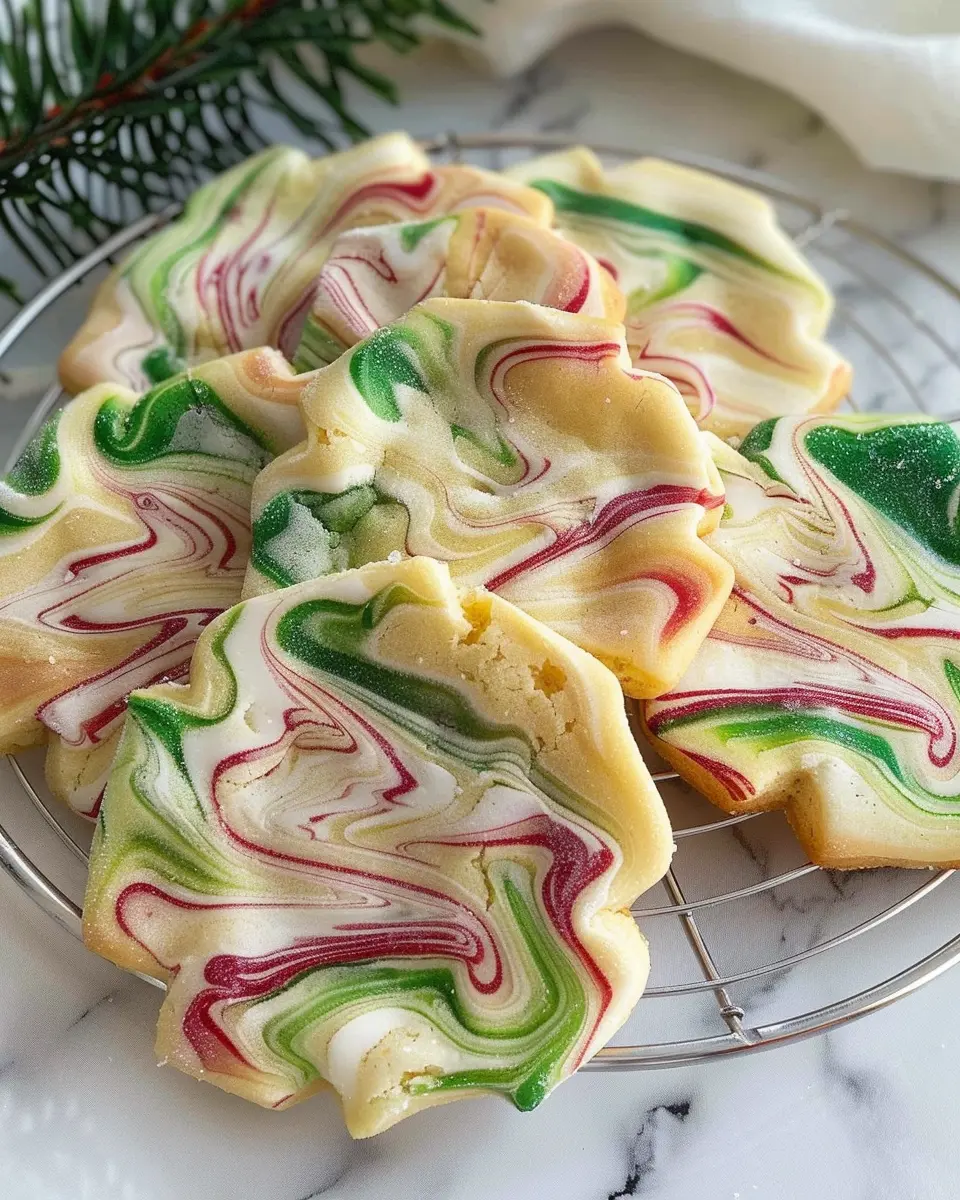
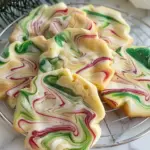
If you’re looking for a sweet treat that’s as beautiful as it is delicious, look no further than marbled sugar cookies. These delightful cookies not only tantalize your taste buds but also make for a stunning presentation, perfect for any occasion. The contrasting colors and swirls create an eye-catching treat, making them perfect for festive gatherings, family celebrations, or simply when you want to impress your friends over coffee.
What makes marbled sugar cookies a delightful treat?
Marbled sugar cookies are a delightful fusion of flavors and aesthetics. The unique marbling effect is achieved by blending different colored doughs, usually vanilla and chocolate (or any other flavor combinations you prefer). This not only enhances the visual appeal but also allows for a wonderful taste sensation with each bite. You get the classic sugar cookie flavor, combined with the rich depth of whatever flavors you choose to swirl in.
-
Customizable Delights: One of the best things about these cookies is that you can tailor them to your liking. Whether you want to experiment with colors or flavors, like lemon zest for a citrusy kick or cocoa powder for extra richness, the options are virtually endless. This makes marbled sugar cookies an incredibly versatile option for both experienced bakers and those just starting out.
-
Perfect for All Occasions: Imagine serving a platter of these vibrant cookies at your next gathering. They’re perfect for birthdays, holidays, or even a casual get-together with friends. Just picture everyone reaching for them, mesmerized not only by how they look but also by how delicious they taste. They are bound to be a hit!
Curious about the science behind baking? According to the American Baking Institute, the right technique can significantly affect the texture and flavor of your cookies. For more insights, check out their resource on cookie baking techniques here.
As you embark on your marbled sugar cookie journey, you’ll find that they’re not just a treat for your palate but also a feast for the eyes. So, roll up your sleeves, grab your mixing bowls, and let’s dive into creating these scrumptious delights!
Ingredients for Marbled Sugar Cookies
Creating the perfect batch of Marbled Sugar Cookies is all about using high-quality ingredients. Whether you’re baking for a party or just treating yourself, each component plays a vital role. Here’s what you’ll need:
- All-Purpose Flour: About 2 ½ cups will give your cookies that ideal structure.
- Granulated Sugar: A cup of this sweetener is key for that classic taste and texture.
- Unsalted Butter: Softened to room temperature, 1 cup of butter ensures a rich, melt-in-your-mouth experience.
- Large Eggs: Two eggs will help to bind everything together perfectly.
- Vanilla Extract: A splash (2 teaspoons) elevates the flavor profile—don’t skimp on this!
- Baking Powder: Just 1 teaspoon gives your cookies a lovely rise.
- Salt: A pinch (¼ teaspoon) balances the sweetness.
- Food Coloring: Any vibrant colors to create that marbled effect—gel colors work best for a vivid look.
With these simple, yet essential, Marbled Sugar Cookies ingredients, you’ll be on your way to baking something truly delicious. For more tips on ingredient selection, check out this guide on baking essentials. Happy baking!
Preparing Marbled Sugar Cookies
Creating Marbled Sugar Cookies is not just about baking; it’s an experience filled with fun and creativity. If you’re looking to impress your friends at a gathering or just want to indulge in some sweet treats, this guide will walk you through the steps in a friendly, approachable manner.
Prepare the cookie dough
Start with a solid base by preparing your cookie dough. Here’s what you’ll need:
- 2 ¾ cups all-purpose flour
- 1 teaspoon baking powder
- ½ teaspoon salt
- 1 cup unsalted butter, softened
- 1 ½ cups granulated sugar
- 2 large eggs
- 1 teaspoon vanilla extract
- Food coloring of your choice
-
Mix Dry Ingredients: In a bowl, whisk together the flour, baking powder, and salt. This mixture ensures that your cookies rise beautifully and have the perfect structure.
-
Cream Butter and Sugar: In a separate bowl, use an electric mixer to cream together the butter and sugar until the mixture is light and fluffy. This step is crucial as it incorporates air into the dough, yielding a lighter cookie.
-
Add Eggs and Vanilla: Beat in the eggs, one at a time, and then stir in the vanilla extract. The combination of ingredients will create a delightful, sweet aroma that you can’t resist.
-
Combine Mixtures: Gradually add the flour mixture to the butter mixture. Stir just until combined. You don’t want to overmix; it can lead to tough cookies.
Chill the cookie dough
Now that your dough is mixed, it’s time to chill it, which is equally important for achieving the perfect texture.
- Wrap Dough: Form the dough into a disc, wrap it tightly in plastic wrap, and refrigerate for at least 1 hour. Chilling allows the fats to solidify, making the dough easier to handle later. If you’re short on time, chilling for just 30 minutes will still provide some benefits.
Roll and cut the cookies
Once your dough is firm, let’s get those Marbled Sugar Cookies into shape!
-
Flour Your Surface: Lightly flour your work surface and rolling pin. This prevents sticking and helps you roll out your dough evenly.
-
Divide and Color: Divide the dough in half. If you’re adding food coloring, knead in the color to one half until you achieve your desired hue. The contrast will create that lovely marbled effect when you mix the two colors.
-
Combine and Roll: Take small pieces of each color and gently knead them together. Avoid fully blending them to maintain that gorgeous marble look. Roll out the dough to about ¼-inch thickness.
-
Cut the Cookies: Use fun cookie cutters to cut out your shapes. Place the shapes on a baking sheet lined with parchment paper.
Bake the cookies
Preheat your oven to 350°F (175°C) and get ready for the sweet aroma to fill your kitchen.
-
Bake: Bake the cookies for 8-10 minutes, or until the edges are slightly golden. No one likes a dried-out cookie, so keep an eye on them!
-
Cool: Once baked, let the cookies cool on the baking sheet for a few minutes before transferring them to a wire rack to cool completely.
Make the marbled royal icing
For the icing, you’ll need:
- 4 cups powdered sugar
- 3 tablespoons meringue powder
- 5 tablespoons water
- Food coloring
-
Mix Ingredients: In a bowl, combine the powdered sugar, meringue powder, and water. Whip until stiff peaks form.
-
Divide and Color: Just like your dough, divide the icing and add your chosen food coloring to each portion.
-
Thin the Icing: Add a little water to each color until you reach the desired consistency for flooding and piping.
Decorate the cookies
Finally, it’s time to get artistic!
-
Flooding Technique: Start by flooding the cookies with a base layer of icing. Use a piping bag for a controlled application.
-
Create Marble Patterns: Before the base layer dries, drizzle different colors on top and use a toothpick to swirl them together for that marbled look.
-
Let Dry: Allow the cookies to dry completely before stacking or packaging.
Baking Marbled Sugar Cookies is more than just a recipe; it’s a celebration of creativity in the kitchen, perfect for sharing with friends or enjoying as a delightful afternoon snack. Don’t forget to savor every bite! If you want more baking inspiration, check out some of my favorite cookie recipes here.
Variations on Marbled Sugar Cookies
Color Variations for the Icing
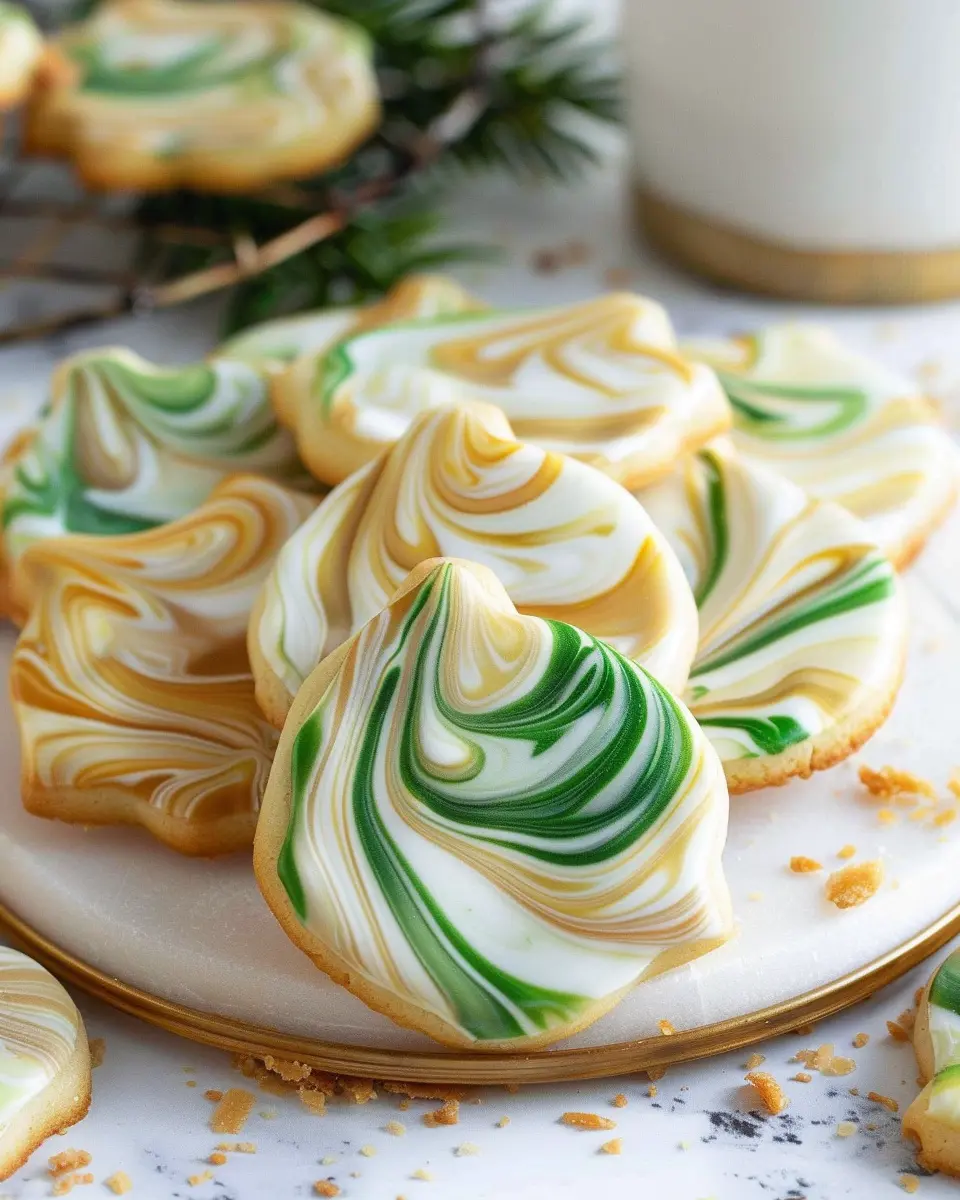
When it comes to marbled sugar cookies, the icing is your canvas! You can create a stunning array of colors to match any occasion—whether it’s vibrant pastels for spring or deep jewel tones for winter festivities. Use gel food coloring for the most vibrant results, and don’t be shy to mix different colors for beautiful marbled patterns. Experimenting can be half the fun—try swirling together pink and purple for a delightful look that screams celebration!
Gluten-Free Marbled Sugar Cookies
Concerned about gluten? Fear not! You can whip up a batch of delightful gluten-free marbled sugar cookies without sacrificing taste. Simply substitute your all-purpose flour with a good gluten-free blend available at most grocery stores. Brands like Bob’s Red Mill or King Arthur Flour offer great options that mimic traditional flour. Just make sure to add a binding agent like xanthan gum to help maintain that soft, chewy texture we all adore.
Flavor Twists to the Sugar Cookie Base
While classic vanilla sugar cookies are irresistible, why not shake things up a bit? Here are a few exciting ideas to incorporate into your marbled sugar cookies:
- Citrus Zest: Add lemon or orange zest to the dough for a refreshing twist.
- Almond Extract: Swap out vanilla extract for almond extract for a delightful flavor surprise.
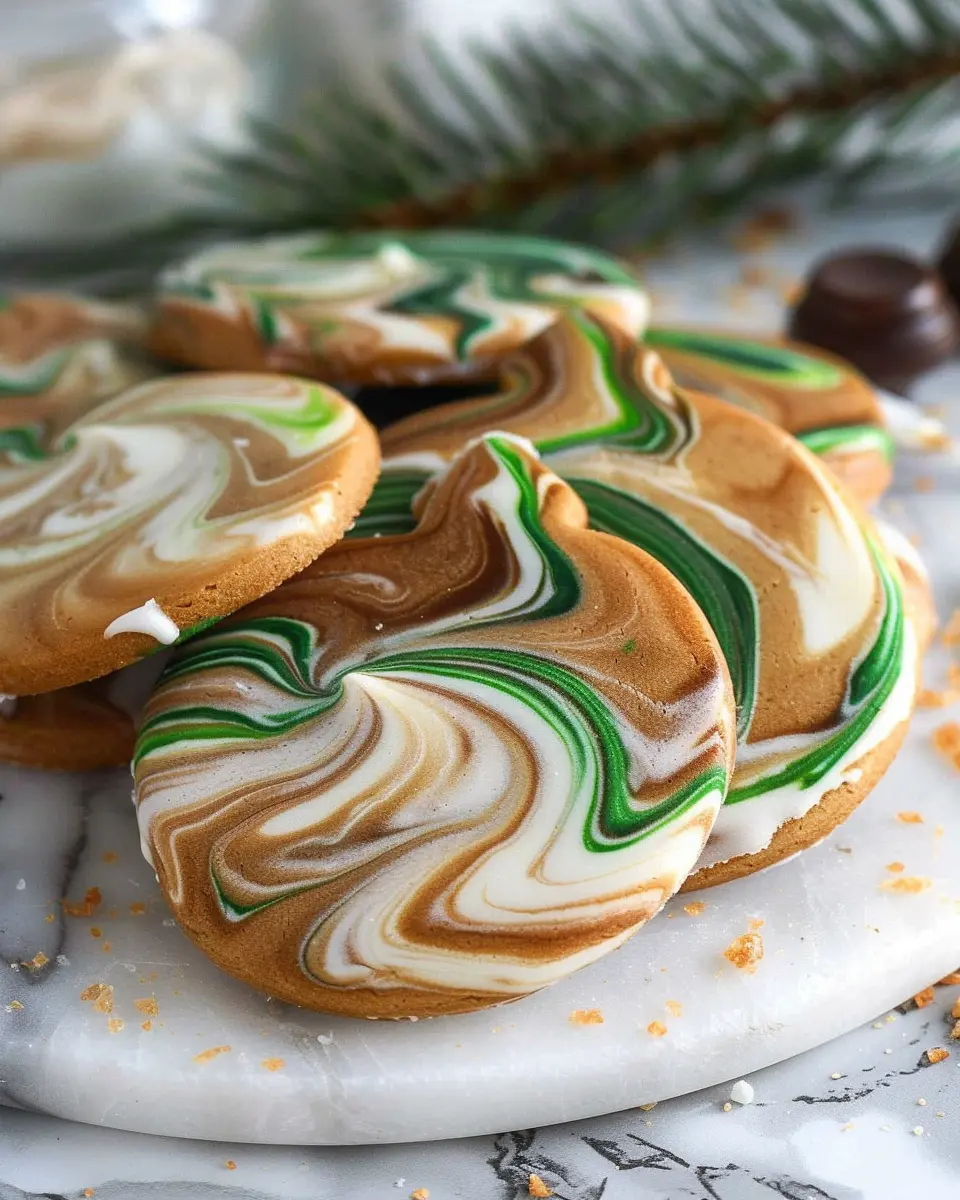
- Chocolate Swirls: Mix cocoa powder into a portion of the dough before marbling for a chocolatey variation.
With these simple tweaks, your cookies can become the talk of the town. Plus, who doesn’t love a little homemade creativity in the kitchen? So go ahead, play around and find your perfect combination! If you’re looking for more decorating inspiration, check out this cookie decorating guide — it can help elevate your cookie game even further!
Combining textures, colors, and flavors not only makes these cookies visually appealing but also pretty irresistible. Happy baking!
Baking notes for Marbled Sugar Cookies
Common pitfalls to avoid
When baking marbled sugar cookies, it’s easy to run into a few common traps. One of the biggest pitfalls is overmixing your dough. This can lead to tough cookies instead of the soft, chewy texture you want. Also, remember to chill your dough for at least 30 minutes before baking; this helps the cookies hold their shape and enhances flavor. Lastly, make sure you don’t skip the parchment paper on your baking sheets. It helps with even baking and prevents sticky disasters.
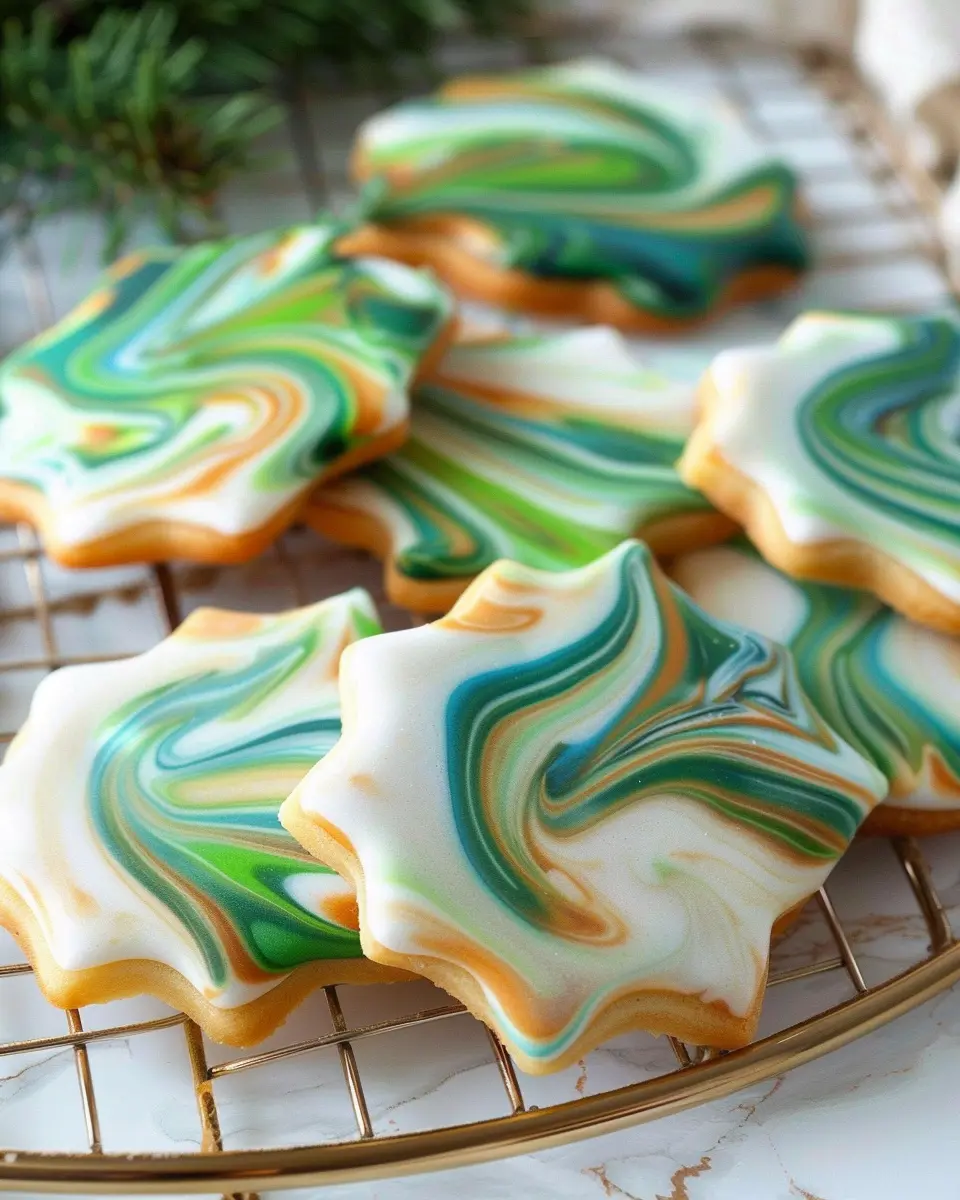
Tips for achieving the best marbled effect
To create those beautiful swirls in your marbled sugar cookies, work with contrasting colors of dough. Start with a base color, and then roll out another color into thin sheets. Layer them, and gently fold and twist to achieve a marbling effect. For even better results, use a knife or a toothpick to swirl the colors together, but don’t overdo it – you want to keep some definition!
For more tips on cookie baking, check out the American Baking Guild for insights that will elevate your baking skills!
Serving suggestions for Marbled Sugar Cookies
Perfect pairings with beverages
When it comes to serving Marbled Sugar Cookies, the right beverage can elevate the experience. Consider pairing these beautifully swirled treats with:
- Herbal teas: A calming chamomile or refreshing mint can complement the cookie’s sweetness without overpowering it.
- Milk alternatives: Almond or oat milk offers a creamy contrast that’s perfect for dunking.
- Coffee or iced coffee: The bold flavor of coffee enhances the cookie’s buttery notes and can be an excellent afternoon pick-me-up.
For sweetener enthusiasts, feel free to sprinkle a bit of cinnamon on top of your coffee for a delightful twist!
Creative display ideas for holidays or events
Presentation matters, especially when showcasing your Marbled Sugar Cookies. Here are a few imaginative ideas:
- Color-themed platters: Use colorful plates or tiered stands that match the colors of the cookies for a cohesive look.
- Gift boxes: Wrap a dozen cookies in festive boxes tied with ribbon for the perfect handmade gift.
- Cookie towers: Stack your cookies high for an impressive centerpiece at parties, allowing guests to easily grab a sweet bite.
Creatively displaying your cookies can turn a simple snack into a memorable experience for you and your guests. For more fun presentation ideas, check out this decorating guide.
Tips for Making Perfect Marbled Sugar Cookies
How to Know When the Cookies Are Done
Getting the timing right is crucial for Marbled Sugar Cookies. Bake them for about 10 to 12 minutes, but keep an eye on them! You’ll know they’re ready when the edges are lightly golden and the centers look set but still slightly soft. They’ll continue to cook a bit while cooling, so don’t worry about them being too soft when you take them out of the oven.
Maintaining Cookie Texture
To ensure your Marbled Sugar Cookies are soft yet chewy, avoid overmixing your dough. When combining your colors, gently fold the dough together. This keeps the marbling effect beautiful while maintaining a pleasing texture. For an extra boost in chewiness, try refrigerating the dough for at least an hour before baking. This also helps the flavors meld.
Storing Your Cookies Properly
Once your delightful Marbled Sugar Cookies have cooled, it’s important to store them correctly. Keep them in an airtight container at room temperature, where they’ll stay fresh for up to a week. For longer storage, you can freeze them by wrapping individually in plastic wrap and then placing them in a freezer-safe bag. Enjoy them straight from the freezer, or let them thaw for a yummy treat any time!
For more on cookie storage tips, check out resources from The Spruce Eats. Happy baking!
Time details for Marbled Sugar Cookies
Preparation time
Making Marbled Sugar Cookies is a breeze! You’ll need about 15 minutes to gather your ingredients and mix together the dough. Just imagine the delightful aroma wafting through your kitchen as you blend the sweet aromas of butter and sugar!
Baking time
Once your dough is ready, it’s time for the fun part—baking! These cookies typically require around 10-12 minutes in the oven. You’ll want to keep an eye on them as they become slightly golden around the edges.
Total time
From start to finish, your total time for these Marbled Sugar Cookies is roughly 30 minutes. Perfect for a quick treat when you have friends over or just want to satisfy that sweet tooth. By the way, if you’d like more tips on baking cookies perfectly, consider checking out resources from King Arthur Baking for expert advice!
Nutritional information for Marbled Sugar Cookies
When it comes to treating yourself with delicious Marbled Sugar Cookies, it’s good to be mindful of their nutritional content. For each cookie, you’ll find the following:
Calories
A typical Marbled Sugar Cookie packs around 150 calories. While they’re sweet and indulgent, enjoying one in moderation can fit nicely into a balanced diet.
Protein
These cookies contain approximately 2 grams of protein each. While not a protein powerhouse, pairing them with a glass of milk or a yogurt dip can increase your protein intake and enhance the experience.
Sugar Content
Each cookie features about 10 grams of sugar. That sweet taste is part of their charm, but if you’re monitoring sugar intake, consider savoring one for a fulfilling treat.
For a healthy lifestyle, check out the American Heart Association for tips on managing sugar consumption effectively! Remember, a little indulgence now and then can bring joy to your day.
FAQs about Marbled Sugar Cookies
Can I freeze marbled sugar cookies?
Absolutely! Freezing marbled sugar cookies is a fantastic way to enjoy them later. After baking, allow the cookies to cool completely. Place them in an airtight container or wrap them tightly in plastic wrap and aluminum foil to prevent freezer burn. They can be stored for up to three months. When you’re ready to indulge, simply thaw them at room temperature. This makes them perfect for those busy days when you need a sweet treat on hand!
What are some tips for icing these cookies?
Icing is where your marbled sugar cookies can truly shine! Here are some tips to get you started:
- Color Choice: Use gel food coloring for vibrant hues without altering the icing’s consistency.
- Piping Bags: If you want precision, a piping bag can help you create intricate designs.
- Layering: Consider a two-step icing process — first a base layer to get your colors in place, then detailed designs on top once the base sets.
For more detailed icing techniques, you can check out resources like SugarHero that offer fantastic tips!
How do I fix the icing consistency?
Getting the right icing consistency can be tricky, but it’s essential for beautiful marbled sugar cookies. If your icing is too runny, try adding a bit more powdered sugar. If it’s too thick, thin it out with a small amount of milk or water. Aim for a smooth, pourable texture that will spread easily but maintain its shape. For a perfect finish, test it by dripping a little on the side of your bowl; it should hold its shape without too much spreading.
Conclusion on Marbled Sugar Cookies
In wrapping up our adventure with Marbled Sugar Cookies, it’s clear that these delightful treats are more than just a sweet indulgence. They are a canvas for creativity—each cookie showcasing a unique blend of colors and flavors. Whether you bake them for a special occasion or simply as a weekend treat, they are sure to impress.
Don’t hesitate to experiment with different color combinations or flavors, such as adding lemon zest for a zesty twist. The process is satisfying, and the end result is delicious. For more inspiration, you might find tips at sources like Bon Appétit or Food Network. Enjoy baking!
PrintMarbled Sugar Cookies: Easy Recipe for Indulgent Sweet Treats
Enjoy the delightful combination of flavors and textures in these marbled sugar cookies, perfect for any occasion.
- Prep Time: 20 minutes
- Cook Time: 12 minutes
- Total Time: 32 minutes
- Yield: 24 cookies 1x
- Category: Dessert
- Method: Baking
- Cuisine: American
- Diet: Vegetarian
Ingredients
- 2 cups all-purpose flour
- 1 cup granulated sugar
- 1/2 cup unsalted butter, softened
- 1 large egg
- 1 teaspoon vanilla extract
- 1/4 teaspoon baking powder
- 1/4 teaspoon salt
- 1/2 cup cocoa powder
Instructions
- Preheat your oven to 350°F (175°C).
- In a mixing bowl, cream together the butter and sugar until light and fluffy.
- Add in the egg and vanilla extract, mixing well.
- In a separate bowl, combine the flour, baking powder, and salt.
- Gradually add the dry ingredients to the wet mixture until fully incorporated.
- Divide the dough in half, and mix cocoa powder into one half.
- Roll out the two doughs, layer them together, and twist to create a marbled effect.
- Shape into balls and place on a baking sheet lined with parchment paper.
- Bake for 10-12 minutes or until edges are lightly golden.
- Let cool before serving.
Notes
- For extra flavor, add chocolate chips or nuts.
- Ensure the butter is at room temperature for easier mixing.
Nutrition
- Serving Size: 1 cookie
- Calories: 150
- Sugar: 10g
- Sodium: 50mg
- Fat: 7g
- Saturated Fat: 4g
- Unsaturated Fat: 2g
- Trans Fat: 0g
- Carbohydrates: 20g
- Fiber: 1g
- Protein: 2g
- Cholesterol: 20mg
Keywords: Marbled Sugar Cookies, cookie recipe, easy baking, sweet treats