Introduction to Starbucks Cake Pops
If you’ve ever strolled into a Starbucks and been tempted by the colorful display of cake pops, you’re definitely not alone. These delightful little treats have gained a significant fanbase, and it’s easy to see why. But what makes Starbucks Cake Pops so appealing to so many?
Why are Starbucks Cake Pops so popular?
One of the primary reasons for the popularity of Starbucks Cake Pops is their irresistible flavor and texture. Imagine moist cake blended with frosting, coated in a smooth chocolate or candy coating. This perfect combination not only satisfies your sweet tooth but also makes for a delightful bite-sized dessert. Whether it’s a mid-afternoon pick-me-up or a post-lunch treat, these pops add a bit of joy to anyone’s day.
Additionally, Starbucks Cake Pops come in a variety of flavors, from classic chocolate to festive seasonal selections like pumpkin spice. This variety ensures there’s something for everyone, whether you’re a chocolate lover or prefer fruity flavors. Each season often brings new limited-edition options, making them fun to collect and try!
Have you ever considered the convenience of these little goodies? Their individual packaging makes them ideal for sharing with friends or enjoying on-the-go. Plus, they’re perfect for any occasion—birthdays, office parties, or simply as a special treat for yourself after a busy week. And who could resist those Instagram-worthy pops? The vibrant colors and cute designs make them not just a snack, but also a delightful visual treat.
Lastly, a fun fact: cake pops have been around for a while, but it was Starbucks who truly popularized them in coffee shops across the globe. Their success can be attributed to the delicate balance of convenience and indulgence, making them a staple in the modern coffee culture.
For a deeper dive into the history and evolution of cake pops, check out this insightful article on cake pop history. You might find some inspiration to create your own version at home!
In short, the allure of Starbucks Cake Pops lies in their deliciousness, variety, convenience, and the sheer joy they bring. Now that you’re familiar with these tasty treats, let’s dive into how you can recreate the magic at home!
Ingredients for Starbucks Cake Pops
Creating Starbucks Cake Pops at home is an exciting venture, and it requires some fantastic ingredients to get that delightful flavor and texture just right. Let’s dive into the essentials you’ll need for these sweet treats!
Essential ingredients for your cake pops
- Cake Mix: Choose your favorite flavor, whether it’s vanilla, chocolate, or red velvet. A box mix works perfectly to simplify the process.
- Eggs: Usually, you’ll need about two eggs to help bind the cake mix together.
- Oil: Vegetable oil works best, adding moisture and a rich flavor.
- Frosting: This is where the magic happens! Store-bought or homemade, frosting adds the perfect sweetness and moisture to form the cake pop mixture.
- Candy Melts: These coats are essential for that smooth, sweet exterior. Choose colors that suit your occasion; the options are endless!
- Lollipop Sticks: These will elevate your cake pops and make them easy to handle.
- Sprinkles: Optional, but they add a fun and festive touch!
For an extra kick, consider adding flavor extracts like vanilla or almond, or even mixing in some chopped nuts.
If you’re looking for instructional articles or guides on baking techniques, sites such as Serious Eats and America’s Test Kitchen can provide excellent insights.
With these ingredients ready, you’re on your way to creating homemade Starbucks Cake Pops that are sure to impress at your next gathering!
Step-by-step Preparation for Starbucks Cake Pops
Creating Starbucks Cake Pops at home can be an incredibly rewarding and delicious endeavor. With a few easy steps, you can replicate these sweet treats that are perfect for sharing with friends or enjoying with your coffee. Let’s roll up our sleeves and get started!
Bake the vanilla cake
The first step in crafting your very own Starbucks Cake Pops is to bake a divine vanilla cake. You can opt for a box mix or make one from scratch if you’re feeling adventurous. Here’s a simple recipe for a basic vanilla cake:
- Ingredients:
- 2 cups all-purpose flour
- 1 ½ cups sugar
- ½ cup unsalted butter (softened)
- 1 cup milk
- 3 ½ tsp baking powder
- 1 tsp vanilla extract
- ½ tsp salt
- 3 large eggs
Steps:
- Preheat your oven to 350°F (175°C).
- Grease and flour a 9×13 inch baking pan.
- In a large bowl, beat the butter and sugar until creamy, then add eggs one by one.
- Gradually mix in your flour, baking powder, salt, milk, and vanilla until combined.
- Pour batter into the prepared pan and bake for 25-30 minutes, or until a toothpick inserted in the center comes out clean.
Let it cool completely before moving on to the next step.
Crumble the cooled cake
Once your vanilla cake is cooled, it’s time to crumble it. Using your hands or a fork, break the cake into fine crumbs. This is a rather satisfying step—who doesn’t love smashing cake? Aim for a texture that is similar to wet sand. If you have any larger chunks, make sure to break them down for a smoother result.
Mix in the frosting
Now comes the fun part: mixing in frosting! You’ll want to use about 1 cup of store-bought or homemade frosting. Chocolate frosting adds a delightful twist, while vanilla keeps it classic.
- Tips:
- Start with half a cup, and add more as needed until the mixture is moist enough to hold together.
- If you want to explore different flavors, try using cream cheese or even a hazelnut spread!
Just ensure that the mix isn’t too soggy; otherwise, your Starbucks Cake Pops will be difficult to shape.
Shape the cake balls
With your cake and frosting thoroughly mixed, it’s time to form the cake balls. Take a tablespoon of the mixture and roll it into a firm ball. Aim for a size similar to a golf ball—though you can make them smaller or larger to suit your preferences.
- Helpful hint: Make sure to refrigerate these balls for about 30 minutes. This will ensure that they hold their shape when it’s time to dip them.
Prepare the candy melts
The next step is to melt your candy coating. You can find candy melts in a range of colors at craft stores or online, such as Wilton Candy Melts. To melt:
- Place the candy melts in a microwave-safe bowl.
- Microwave in 30-second intervals, stirring in between until smooth.
- If it’s too thick, consider adding a small amount of vegetable oil or shortening to achieve a smoother consistency.
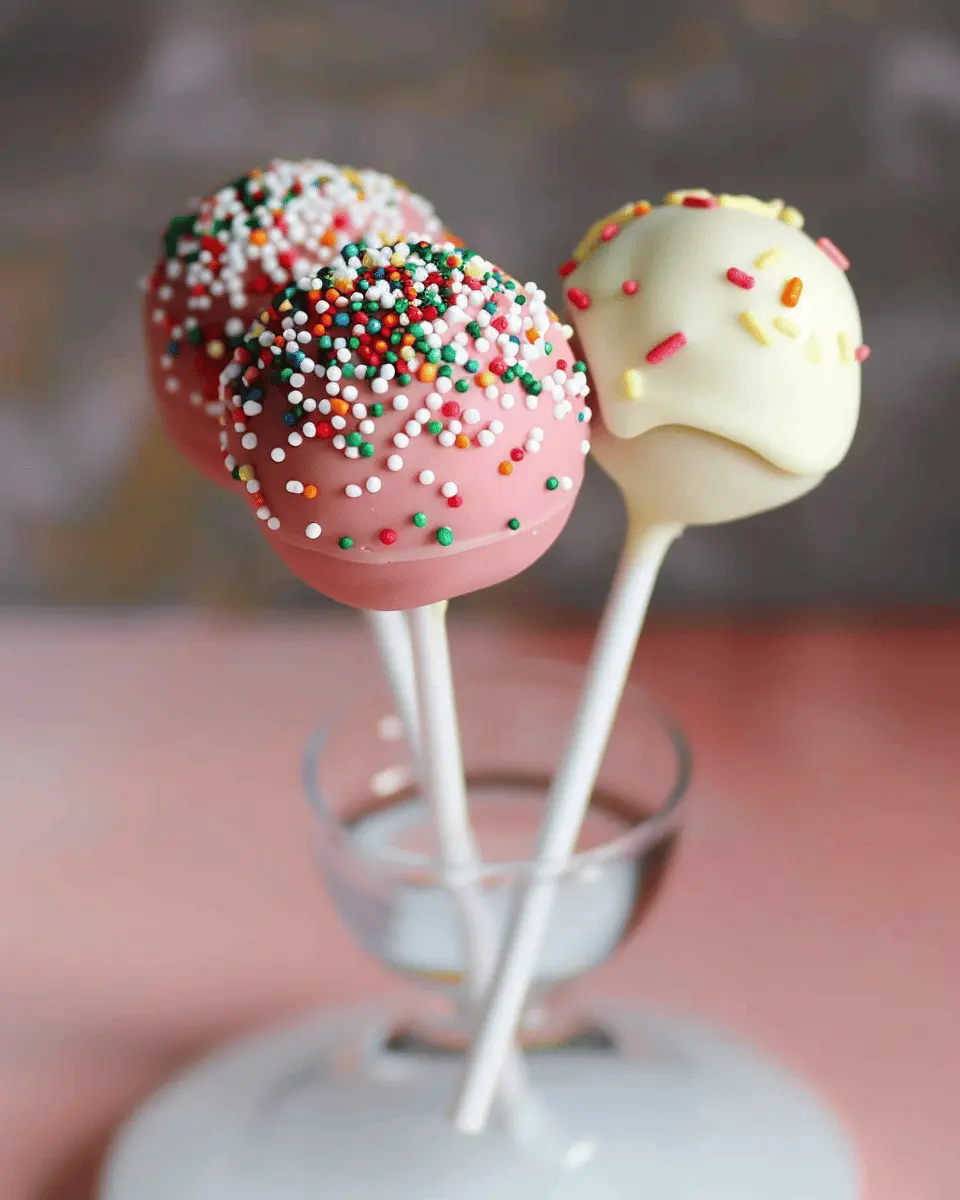
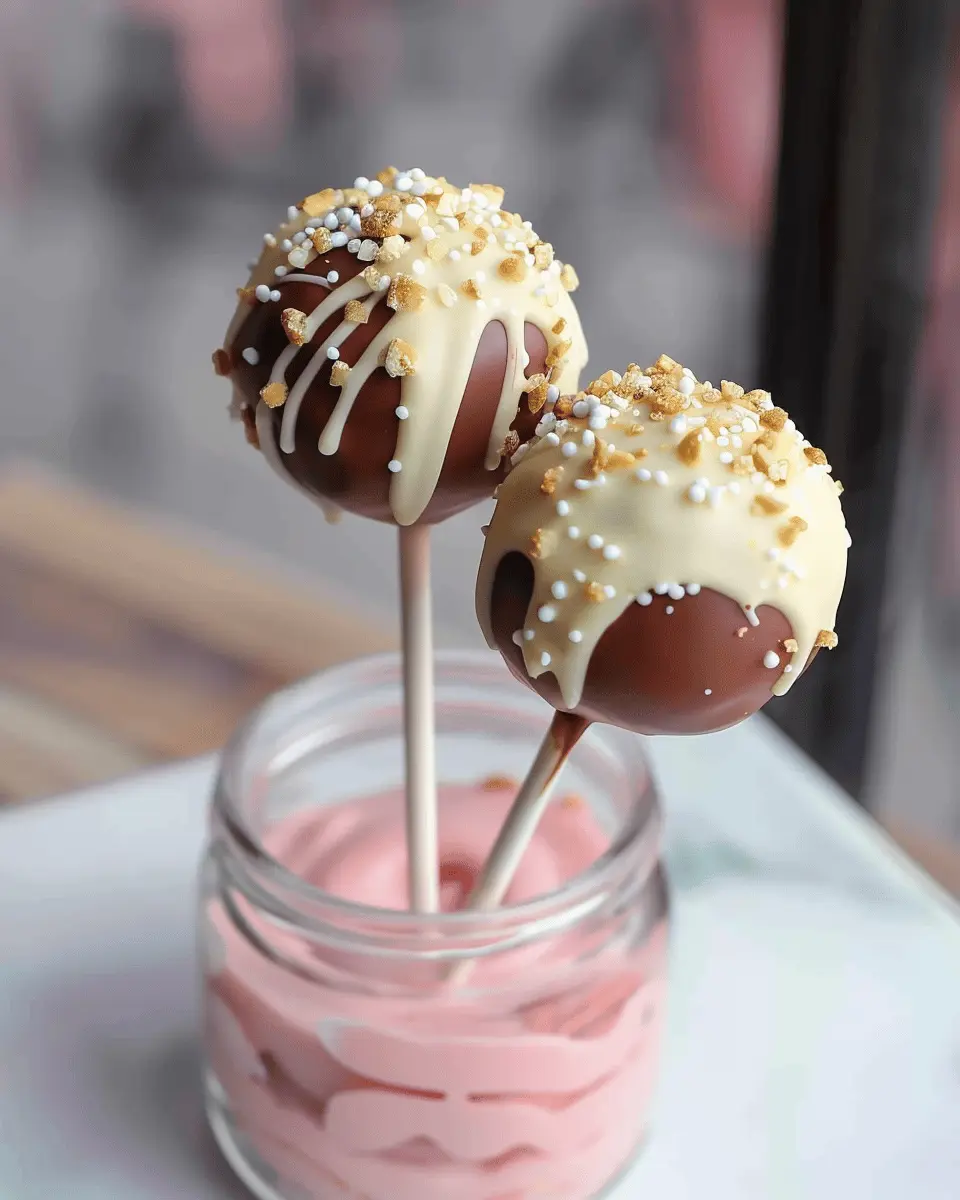
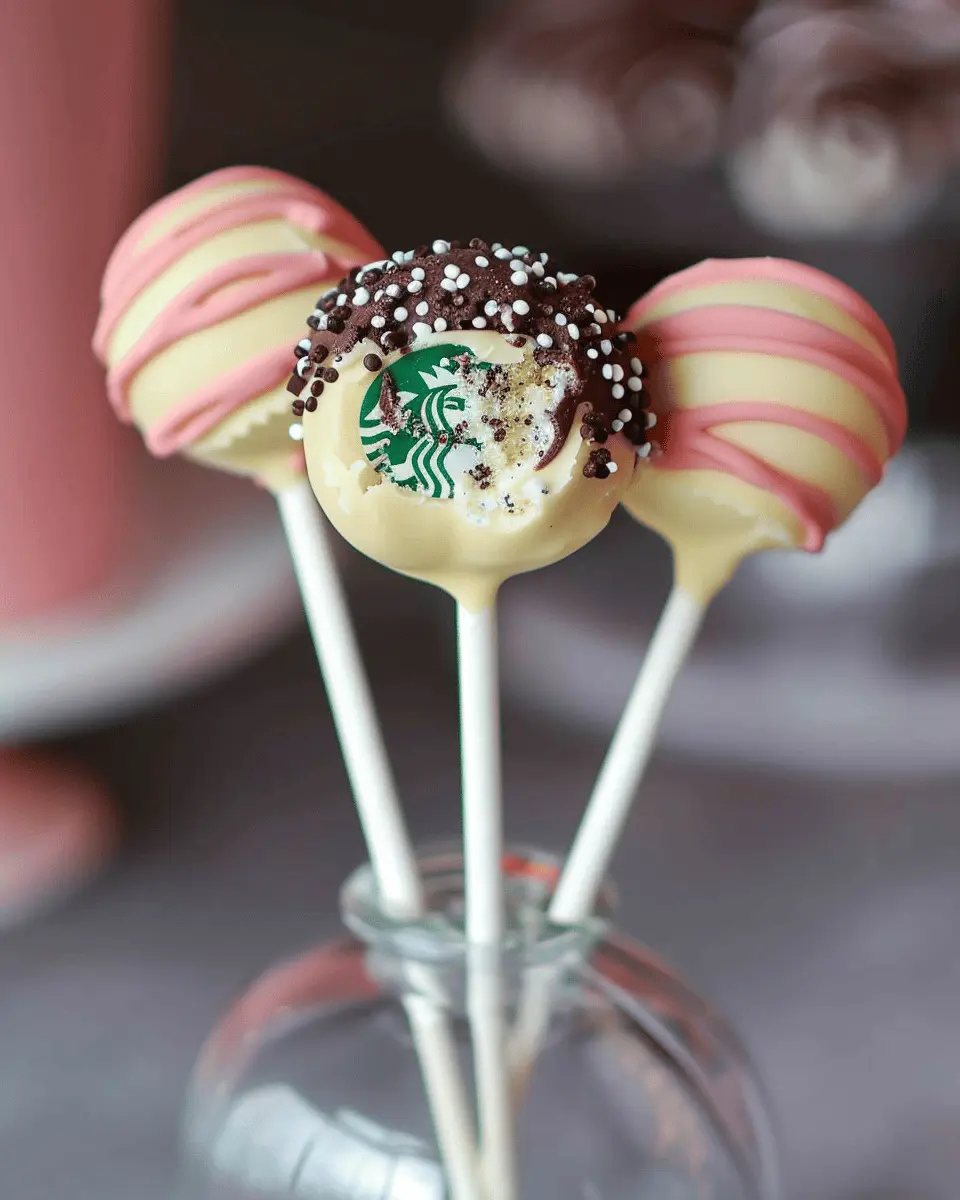
Dip and decorate the cake pops
This is where the magic happens! Take your chilled cake balls and dip them in the melted candy melts using a lollipop stick. Here’s how to get the best results:
- Steps:
- Dip one end of the lollipop stick into the melted candy.
- Insert the stick into the cake pop.
- Dip the entire cake pop in the candy coating, tapping off excess.
- Decorate with sprinkles, drizzled chocolate, or any toppings you fancy.
Let the cake pops cool upside down in a styrofoam block or on a baking sheet lined with parchment paper.
And there you have it—your delectable homemade Starbucks Cake Pops! Perfect for any occasion, these treats are sure to impress. Enjoy your baking adventure, and don’t forget to share your creations with friends—after all, what’s better than a little bit of joy, paired with a great cup of coffee?
Variations on Starbucks Cake Pops
Creating your own versions of the beloved Starbucks Cake Pop is a fantastic way to indulge your creativity while savoring these delightful treats at home. Here’s how you can mix it up!
Chocolate Cake Pops
Chocolate lovers rejoice! These cake pops can be made using your favorite chocolate cake mix. Once baked and cooled, crumble the cake and mix it with chocolate frosting until you reach a dough-like consistency. Then, roll them into small balls, dip in melted chocolate, and finish with sprinkles or crushed nuts for that extra crunch. The rich, chocolatey flavor is sure to satisfy any sweet tooth!
Funfetti Cake Pops
Looking for something festive? Funfetti cake pops are perfect for parties or celebrations. Use a vanilla cake mix and fold in colorful sprinkles before baking. After crumbling and mixing with vanilla frosting, these cake pops can be dipped in white chocolate and coated with additional sprinkles. They not only look cheery but also taste like a slice of birthday cake in every bite!
Seasonal Variations
Don’t forget to adapt your Starbucks Cake Pop recipes for the seasons! For example, during the fall, why not try pumpkin spice cake pops? Blend pumpkin puree with a spice cake mix, then coat with caramel. In winter, peppermint cake pops featuring crushed peppermint candies and white chocolate can give a festive flair. Each season provides an opportunity to experiment and delight your guests with new flavors and presentations.
For more tips on creating variations, you can check sources like Taste of Home or AllRecipes. Happy baking!
Cooking Tips and Notes for Starbucks Cake Pops
When it comes to mastering the perfect Starbucks Cake Pop, consistency is key. Below are some valuable tips to ensure your cake pops turn out deliciously.
Tips for Achieving the Perfect Consistency
- Use the Right Cake: A dense cake works best for cake pops. Opt for recipes that yield moist, sturdy cake, such as chocolate or vanilla. A little buttercream frosting can help bind it all together, but don’t overdo it; too much moisture can lead to soggy pops.
- Chill Your Mixture: Once mixed, chill your cake pop batter for about 30 minutes. This makes it easier to shape and ensures they hold their form when dipped.
Best Practices for Decorating Cake Pops
- Choose Quality Chocolate: Use high-quality melting chocolate or candy melts for coating. This not only improves flavor but also affects the coating’s smoothness—leading to that professional finish you see at Starbucks!
- Drizzle for Flair: After coating your cake pops, consider adding a drizzle of contrasting chocolate. It not only enhances the visual appeal but adds a delightful flavor twist as well.
Remember, practice makes perfect! So don’t be discouraged if your first batch isn’t Instagram-ready. With these tips, you’ll be on your way to crafting delightful Starbucks Cake Pops. For more baking inspiration, check out resources like King Arthur Baking or Food Network. Happy baking!

Serving Suggestions for Starbucks Cake Pops
How to Present Your Cake Pops
When it comes to presenting your Starbucks Cake Pops, think of them as little edible art pieces! Arrange them on a decorative platter, sticking them into a foam base or soft fruit like oranges or pears. This not only keeps them secure but also adds a pop of color to your presentation. You can also dress up the platter with some fresh berries or mint leaves for a vibrant touch. Want to elevate your serving game? Consider drizzling some complementary sauces around the pops for a tempting visual and flavor pairing.
Creative Packaging Ideas for Gifts
If you’re planning to gift your homemade Starbucks Cake Pops, creative packaging can make all the difference. Use clear cellophane bags to showcase your colorful pops, and tie them with a chic ribbon—think pastel colors or sparkly metallics. A personalized tag with a sweet message adds that special touch! Alternatively, consider a mason jar layered with cake pops, which not only looks delightful but also makes it easy to transport. For more inspiration, check out expert tips on gift packaging at Good Housekeeping.
Whether you’re entertaining guests or giving a gift, these small touches can turn a simple treat into a memorable experience!
Time Breakdown for Starbucks Cake Pops
Preparation time
Making your own Starbucks Cake Pops at home is a delightful endeavor that requires about 30 minutes of preparation. This includes gathering ingredients, baking cake, and mixing everything together.
Baking time
Once you’re prepped, the baking time for the cake is typically around 25-30 minutes. It’s essential to allow it to cool completely so you can easily crumble it for those tasty pops!
Total time
In total, you can expect around 1.5 hours from start to enjoying your homemade Starbucks Cake Pops. This little investment of time can turn ordinary days into sweet treats perfect for sharing with friends or savoring during your coffee break!
For more detailed guidance, check out this baking tips resource for baking techniques that elevate your cake-making skills. Happy baking!
Nutritional Facts for Starbucks Cake Pops
When you’re looking for a delicious treat, Starbucks Cake Pops often catch your eye. Here’s a quick breakdown of their nutritional highlights, making it easier to indulge responsibly.
Calories
Each Starbucks Cake Pop packs around 170 calories. While treats like this can be calorie-dense, they’re perfect for a small pick-me-up without derailing your day.
Sugar Content
These delightful snacks contain about 20 grams of sugar. Given their sweet nature, it’s important to keep this in mind, especially if you’re watching your sugar intake.
Serving Size
Typically, one Starbucks Cake Pop constitutes a single serving. It’s a smart choice for a quick bite or as a sweet accompaniment to your coffee while you’re on the go.
For more information on nutrition in sweets, consider checking out the U.S. Food & Drug Administration for guidelines on sugar consumption. Balancing treats with your overall diet is key to enjoying them without concern. Remember, moderation is the foundation of a healthy lifestyle!
FAQs about Starbucks Cake Pops
When it comes to making your own Starbucks Cake Pops, you might have some burning questions. Let’s tackle those FAQs!
Can I use different flavored cake mixes?
Absolutely! One of the fantastic aspects of making Starbucks Cake Pops at home is that you can customize the flavor to your heart’s content. Whether you prefer classic vanilla, rich chocolate, or something more adventurous like red velvet or even lemon, feel free to experiment. Just remember to adjust your frosting and coating flavors accordingly to keep things balanced. Your cake pops, your rules!
How can I store leftover cake pops?
If you’ve managed to resist devouring all your cake pops (which is no easy feat), storing them correctly is key to keeping them fresh. Place your cake pops in an airtight container lined with parchment paper to prevent them from sticking together. They can typically last for about 3-5 days at room temperature. If you want to keep them for longer, consider refrigerating them, where they’ll hold up for up to two weeks. For the best flavor, always let them sit at room temperature before enjoying!
What can I use instead of candy melts?
Candy melts are traditionally used for coating cake pops due to their easy melting characteristics, but if you’re looking for alternatives, there are several options. You could use tempered chocolate, which provides a richer flavor. Royal icing can also be a fun and creative option, offering a nice finish and a range of colors. Another great substitute is chocolate chips mixed with a bit of shortening to achieve the right consistency for coating.
For more tips on substitutions, check out resources like Epicurious or Food Network. Your creativity is the limit when it comes to your homemade Starbucks Cake Pops!
Conclusion on Starbucks Cake Pops
Enjoy the homemade cake pop experience!
Creating your own Starbucks Cake Pops at home opens the door to a delightful treat that’s often reserved for cafe stops. Each bite-sized wonder is customizable, allowing you to experiment with different flavors and toppings that suit your taste. Whether you prefer classic chocolate, vibrant vanilla, or even a fruity twist, the possibilities are endless.
Try pairing your cake pops with a refreshing iced coffee or a warm cup of tea. Not only are they great for your afternoon snack, but they also make fabulous gifts! For tips on crafting the ideal cake pop and exploring flavor combinations, check out resources like The Kitchn for inspiration. Remember, the joy of baking isn’t just in the result but in the process, so don’t hesitate to share your creations with friends and family!
PrintStarbucks Cake Pop: Easy Delight to Make at Home

Learn how to make delicious Starbucks-style cake pops at home with this easy-to-follow recipe!
- Prep Time: 20 minutes
- Cook Time: 30 minutes
- Total Time: 1 hour
- Yield: 24 cake pops 1x
- Category: Dessert
- Method: Baking
- Cuisine: American
- Diet: Vegetarian
Ingredients
- 1 box cake mix
- 1 egg
- 1/2 cup water
- 1/2 cup frosting
- 1 cup chocolate or candy melts
- 1 pack lollipop sticks
Instructions
- Preheat your oven and prepare the cake mix according to package instructions.
- Bake the cake and let it cool completely.
- Crumble the cooled cake into a mixing bowl and combine with frosting.
- Form the mixture into small balls and insert lollipop sticks.
- Chill the cake pops in the fridge for 30 minutes.
- Melt chocolate or candy melts and dip each cake pop.
- Allow the chocolate to harden before serving.
Notes
- Use any flavor of cake mix you prefer.
- Optional: Decorate with sprinkles after dipping in chocolate.
Nutrition
- Serving Size: 1 cake pop
- Calories: 100
- Sugar: 10g
- Sodium: 80mg
- Fat: 5g
- Saturated Fat: 2g
- Unsaturated Fat: 3g
- Trans Fat: 0g
- Carbohydrates: 15g
- Fiber: 1g
- Protein: 1g
- Cholesterol: 30mg
Keywords: Starbucks Cake Pop, cake pops, homemade cake pops